 Pin It
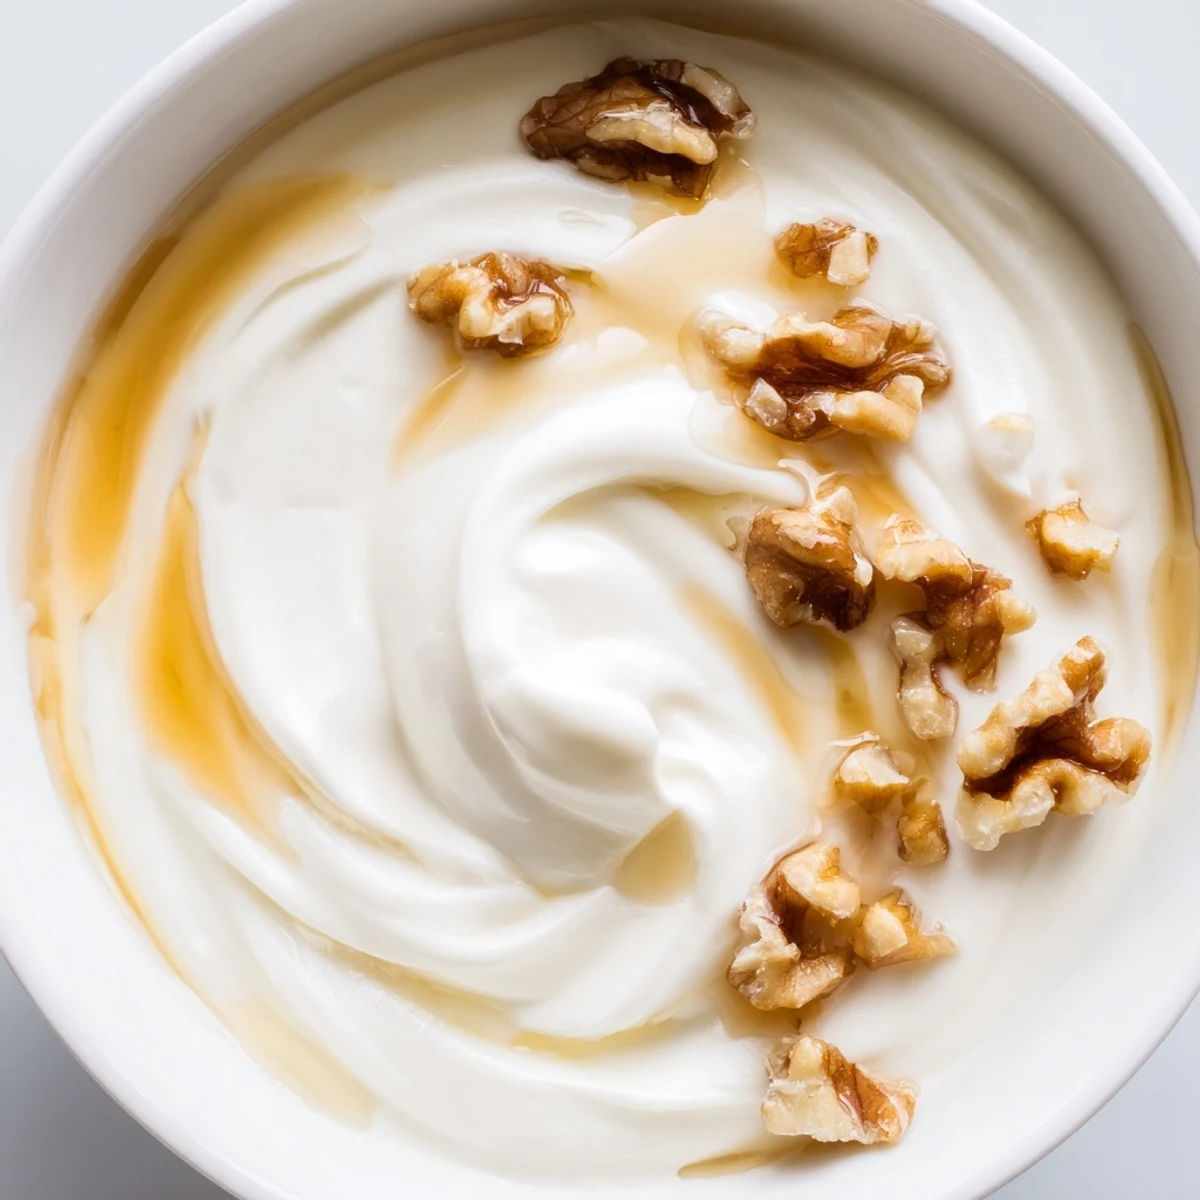
 Transform simple milk into luxuriously thick Greek yogurt through an easy heating and culturing process. The secret lies in reaching the precise temperature before introducing live cultures, then allowing the mixture to ferment undisturbed for several hours. The final step—straining through cheesecloth—removes excess whey, creating that signature dense, creamy consistency. This versatile homemade staple costs far less than store-bought versions and lets you control exactly what goes into your food. Serve with honey and fresh fruit for breakfast, use as a sour cream substitute in savory dishes, or enjoy plain with a sprinkle of nuts.
My grandmother kept a thermometer in her yogurt bowl, not because she was fussy, but because she taught me that 180°F is where milk transforms from ordinary into something velvety and alive. I spent a Sunday afternoon hovering over my stove, watching the steam rise and waiting for that precise moment when the bubbles would whisper that it was time. Now I can't buy yogurt anymore. Homemade tastes like milk that actually knows where it came from.
Last winter my neighbor texted me at midnight asking why her yogurt was still runny after 12 hours. We both stood in our respective kitchens in pajamas, thermometers in hand, realizing she'd forgotten the most important step: creating a warm environment for the cultures to work. Now she wraps her container in a thick wool blanket and tucks it near the radiator like a sleeping child.
Ingredients
- Whole milk: The fat content creates that luxurious mouthfeel that makes Greek yogurt feel decadent rather than just functional.
- Plain yogurt with live cultures: This starter contains the bacteria that transform milk into yogurt, so check the label carefully to ensure they're active.
Instructions
- Heat the milk to its transformation point:
- Warm the milk over medium heat, watching for that magical moment when your thermometer hits 180°F and the steam rises in gentle curls.
- Let it cool to bathwater temperature:
- Be patient as the milk cools to 110°F, which feels warm against your wrist but not hot enough to kill the cultures.
- Create your starter blend:
- Whisk a few spoonfuls of cooled milk into your starter yogurt until it's smooth and ribbony.
- Combine and culture:
- Pour the mixture back into the main pot, stir gently, then transfer to a clean container and wrap it warmly for its 6 to 8 hour transformation.
- Strain into Greek perfection:
- Line a strainer with cheesecloth, pour in your set yogurt, and refrigerate as it releases whey and becomes impossibly thick.
 Pin It
 My daughter now asks to check the yogurt before school each morning, pressing her finger against the container's side to see if it's set. She doesn't understand food science yet, but she understands that something ordinary became extraordinary while we slept.
Temperature Mastery
I ruined three batches before I finally bought a proper digital thermometer. The visual cues are subtle, and guessing based on steam or bubble size will almost always lead to disappointing results. The investment is worth it for the consistency you'll achieve.
Serving Possibilities
The whey you strain off isn't waste, it's liquid protein that transforms smoothies or can replace buttermilk in pancakes. I keep mine in a Mason jar in the refrigerator door, where it reminds me to make another batch soon.
Long Term Success
Save two tablespoons from each successful batch to start your next one, creating a lineage that can stretch indefinitely. You'll notice the flavor evolving slightly over time, developing characteristics unique to your kitchen. This is how traditional yogurt makers work, and after a few generations, your yogurt will truly be yours.
- Always use the freshest milk you can find.
- Start a new batch within 7 days for the most active cultures.
- Label each container with the date it was made.
 Pin It
 There's something deeply satisfying about making something so essential from scratch. Once you start, you'll wonder why we ever bought yogurt in plastic tubs at all.
Recipe FAQs
- → Why must I heat the milk to 82°C before making yogurt?
-
Heating milk to 82°C (180°F) denatures the whey proteins, which allows them to bond with casein proteins during fermentation. This structural change is essential for achieving that thick, custard-like texture rather than a thin, drinkable consistency. Skipping this step results in runny yogurt regardless of how long you strain it.
- → Can I use store-bought Greek yogurt as a starter?
-
Yes, but ensure the label specifies 'live cultures' or 'active cultures.' Avoid Greek yogurt that has been heat-treated after fermentation, as this kills the beneficial bacteria needed to culture fresh milk. Plain, unflavored varieties work best since added sugars and fruit can interfere with the culturing process.
- → How long does homemade Greek yogurt stay fresh?
-
Properly stored in an airtight container, your homemade yogurt will keep for up to two weeks in the refrigerator. The tangy flavor will intensify over time. Always use a clean spoon when scooping to introduce fewer bacteria that could shorten its shelf life.
- → What can I do with the whey liquid removed during straining?
-
The whey is packed with protein and beneficial bacteria. Use it in smoothies for extra nutrition, substitute for buttermilk in pancakes and baked goods, or add to soup stocks for depth. It also works as a tenderizing marinade for meats or a nutrient-rich addition to homemade bread dough.
- → Is a yogurt maker necessary for success?
-
Not at all. While yogurt makers provide convenience and consistent temperature, a warm corner of your kitchen works perfectly. Many people culture their yogurt in an oven with just the pilot light on, wrapped in towels on a counter, or even in a slow cooker set to warm. The key is maintaining a steady temperature around 43°C (110°F) throughout the culturing period.