 Pin It
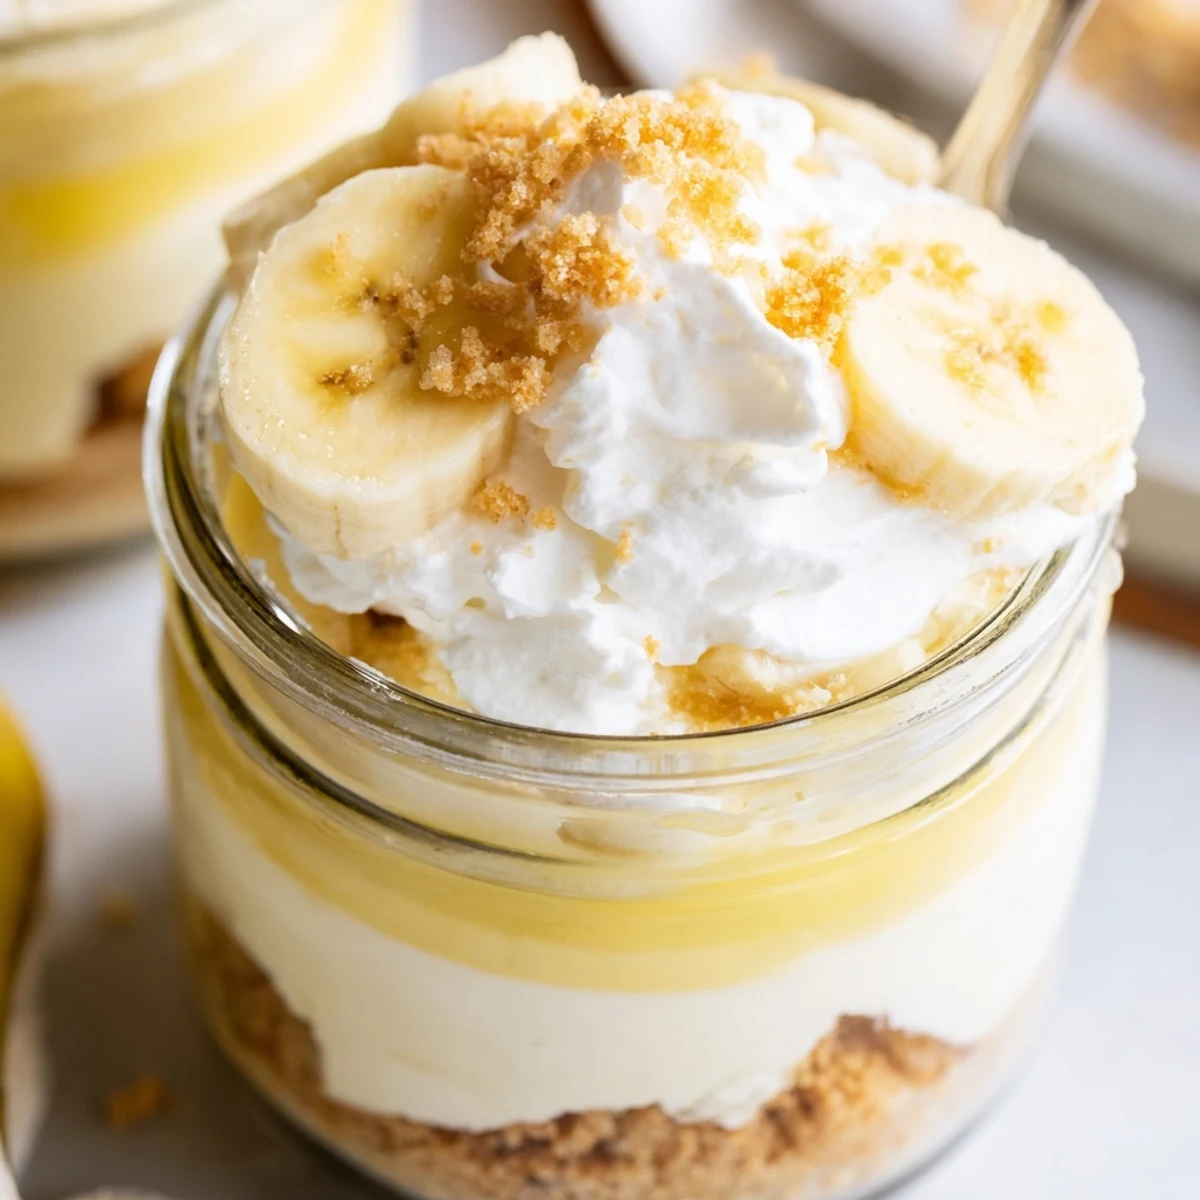
 These individual cups feature three delicious layers: a buttery vanilla wafer crust, a creamy cheesecake filling made with cream cheese and whipped cream, and a classic banana pudding layer. Fresh banana slices and crunchy wafer crumbs crown each cup for the perfect texture contrast.
The entire dessert comes together in just 20 minutes of active prep time, then chills for at least 2 hours to set. Since there's no baking required, these cups are perfect for warm weather days or when you need an impressive dessert without heating up the kitchen.
Each serving delivers rich, indulgent flavors from the combination of cheesecake and banana pudding classics. The individual portions make them ideal for gatherings, dinner parties, or meal prep desserts throughout the week.
Last summer my sister showed up with six mason jars and a container of vanilla wafers, declaring we were making individual desserts instead of one giant cake. The whole kitchen counter became an assembly line of bowls and spoons, and honestly, portioning everything into cute little cups made the process feel like a party trick rather than actual work.
I made these for a Fourth of July gathering and watched my usually sweets-averse uncle go back for seconds. Something about having your own adorable cup makes dessert feel more special, like it was made just for you.
Ingredients
- Vanilla wafer cookies: These classic cookies provide that nostalgic crunch and buttery sweetness that defines banana pudding
- Unsalted butter: Melting this into the crushed wafers creates a crust that holds together perfectly without overwhelming the delicate layers
- Cream cheese: Room temperature cream cheese blends into silkiness, so plan ahead and set it out on the counter
- Heavy whipping cream: Cold cream whips up faster and holds air better, giving the cheesecake layer its cloud-like texture
- Instant banana pudding mix: The shortcut that delivers consistent banana flavor every single time
- Ripe bananas: Look for bananas with some brown spots since they offer the sweetest flavor and creamiest texture
Instructions
- Build the buttery crust:
- Crush those vanilla wafers until theyre fine crumbs, then stir in melted butter until everything sticks together when you pinch it. Press about two tablespoons into the bottom of each cup and use the back of a spoon to create an even foundation.
- Whip up the cheesecake base:
- Beat the softened cream cheese with sugar and vanilla until you have a smooth, glossy mixture without any lumps remaining. In a separate bowl, whip that cold heavy cream until stiff peaks form, then gently fold it into the cream cheese mixture until no white streaks remain.
- Prepare the pudding layer:
- Whisk the instant banana pudding mix with cold milk for exactly two minutes until it thickens into a velvety consistency. Set it aside and let it rest briefly while you start assembling everything.
- Layer it all together:
- Spoon half the cheesecake mixture over the crust in each cup, followed by a layer of fresh banana slices. Divide the banana pudding evenly among the cups, then top with the remaining cheesecake filling.
- Add the finishing touches:
- Sprinkle extra crushed wafers over each cup along with more banana slices and a dollop of whipped cream if you are feeling fancy. Cover everything and refrigerate for at least two hours so all the flavors can become friends.
 Pin It
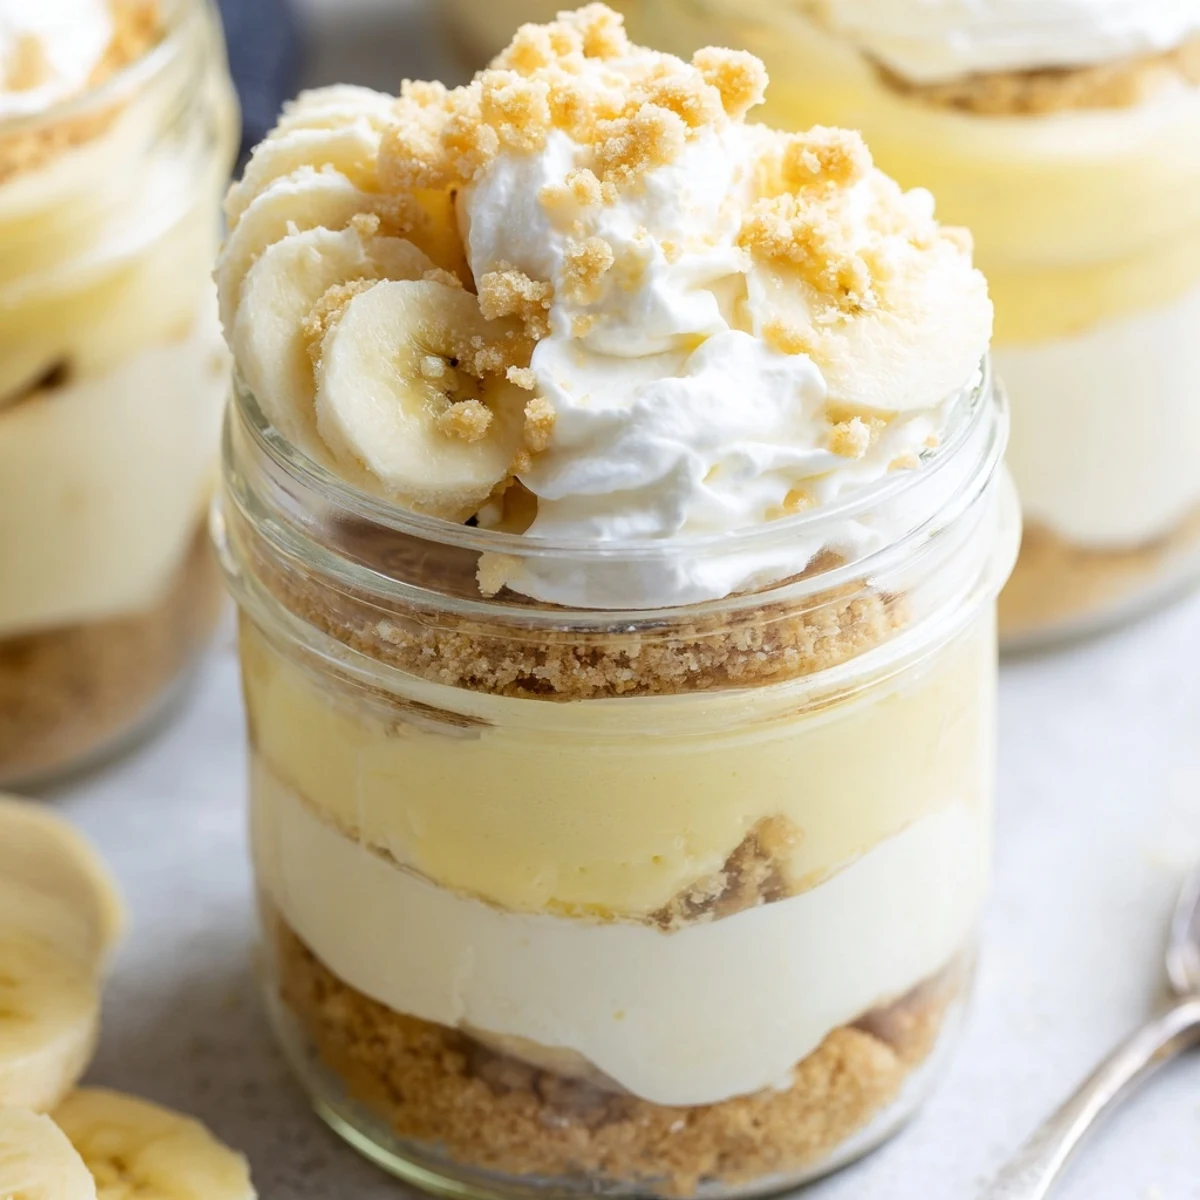
 My niece helped me assemble these last Thanksgiving and took such pride in carefully placing each banana slice. Now she asks every year if we are making those little cup things again.
Make Ahead Magic
These cups can be assembled up to 24 hours in advance, which makes them perfect for entertaining. Just hold off on adding the fresh banana slices and final toppings until right before serving to keep everything looking fresh and vibrant.
Serving Suggestions
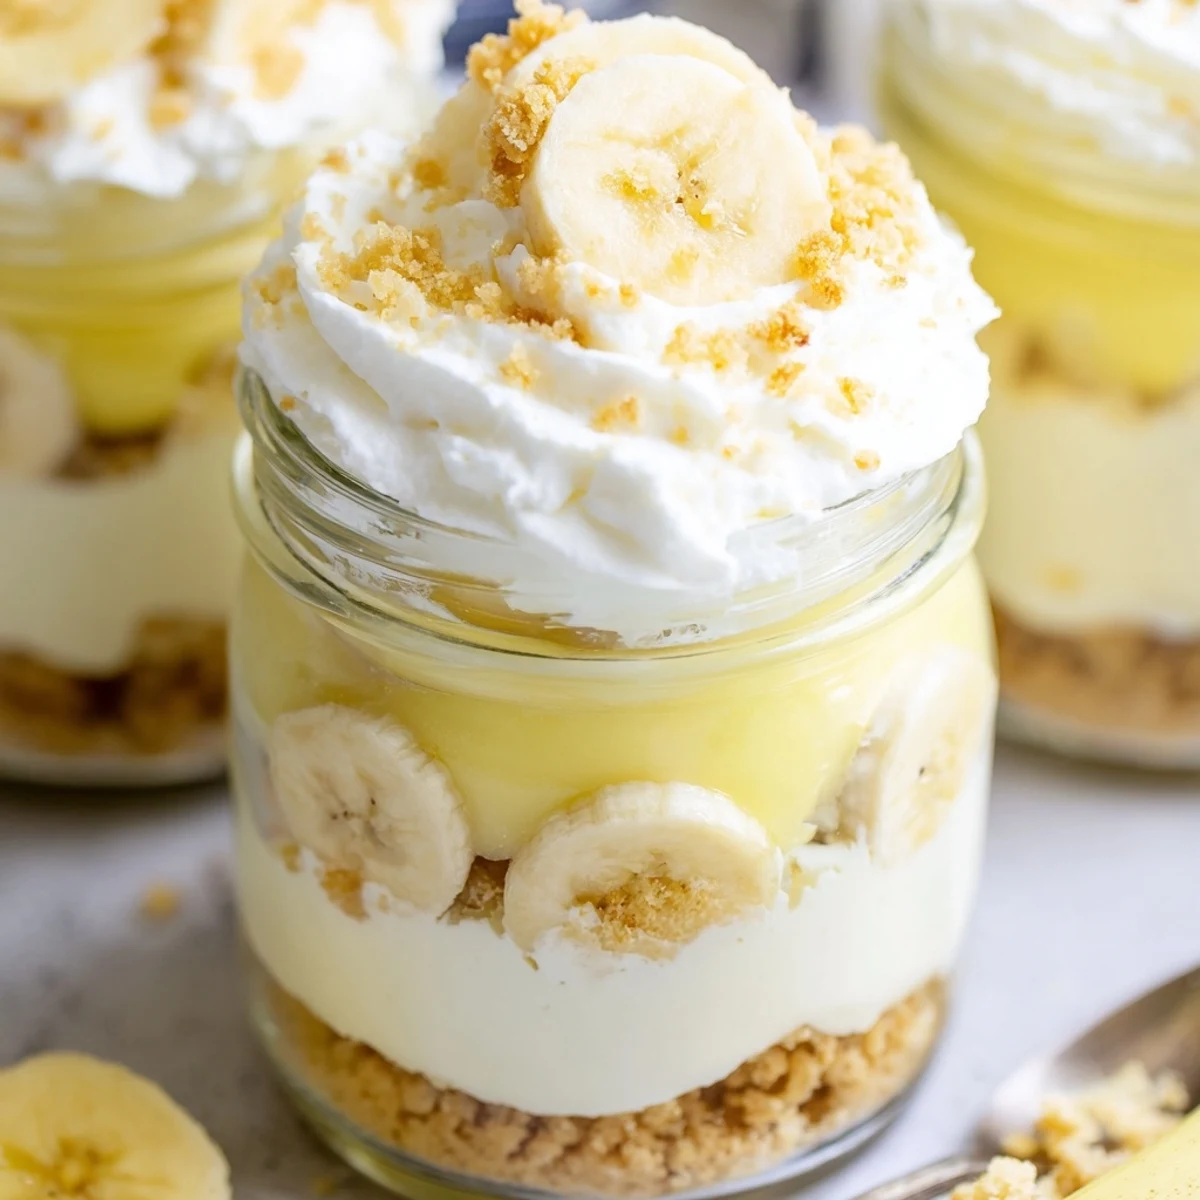
Clear glass cups or jars show off the beautiful layers and make these desserts feel extra special. They are rich enough that small portions satisfy, making them ideal for when you want to end a meal on a sweet note without leaving everyone feeling stuffed.
Easy Customizations
Try mixing a pinch of cinnamon into the crust for warmth, or swap vanilla wafers for graham crackers if that is what you have in the pantry. A drizzle of caramel sauce over the top adds a sophisticated touch that makes these feel restaurant worthy.
- Crush extra wafers and store them in a sealed container for quick topping
- Keep sliced bananas from turning brown by tossing them in lemon juice
- Let the cups sit at room temperature for 5 minutes before serving for the creamiest texture
 Pin It
 These little cups have become my go to whenever I need to bring dessert somewhere. They travel well and always disappear faster than anything else on the table.
Recipe FAQs
- → Can I make these cups ahead of time?
-
Yes, these cups can be prepared up to 24 hours in advance. Store them covered in the refrigerator, but add fresh banana slices and whipped cream topping just before serving to prevent the bananas from browning.
- → What type of cups work best for this dessert?
-
Clear glass jars, dessert cups, or small mason jars work beautifully since they showcase the layers. Use 6-8 ounce containers for proper portion sizes. Wine glasses or dessert bowls also work well if you prefer a wider opening for easier topping application.
- → How do I prevent banana slices from turning brown?
-
Toss sliced bananas lightly in lemon juice before adding them as a layer or topping. The citric acid prevents oxidation. Alternatively, add banana slices immediately before serving rather than during assembly for the freshest appearance.
- → Can I substitute the instant pudding mix?
-
You can make homemade vanilla pudding and add mashed banana for flavor, though the texture may differ slightly. Cook and cool the pudding completely before layering. The instant mix provides convenience and consistent results for this no-bake dessert.
- → How long do these cheesecake cups need to chill?
-
Refrigerate the assembled cups for at least 2 hours to allow the layers to set properly. The chilling time helps the cheesecake filling firm up and the flavors to meld. They can be stored longer if needed, but 2-4 hours is ideal for the best texture.
- → Can I use different cookies for the crust?
-
Vanilla wafers are traditional for banana pudding, but graham crackers, Nilla wafers, or even butter cookies work as crust alternatives. Each will impart slightly different flavors while maintaining the necessary crunch and buttery texture.