 Pin It
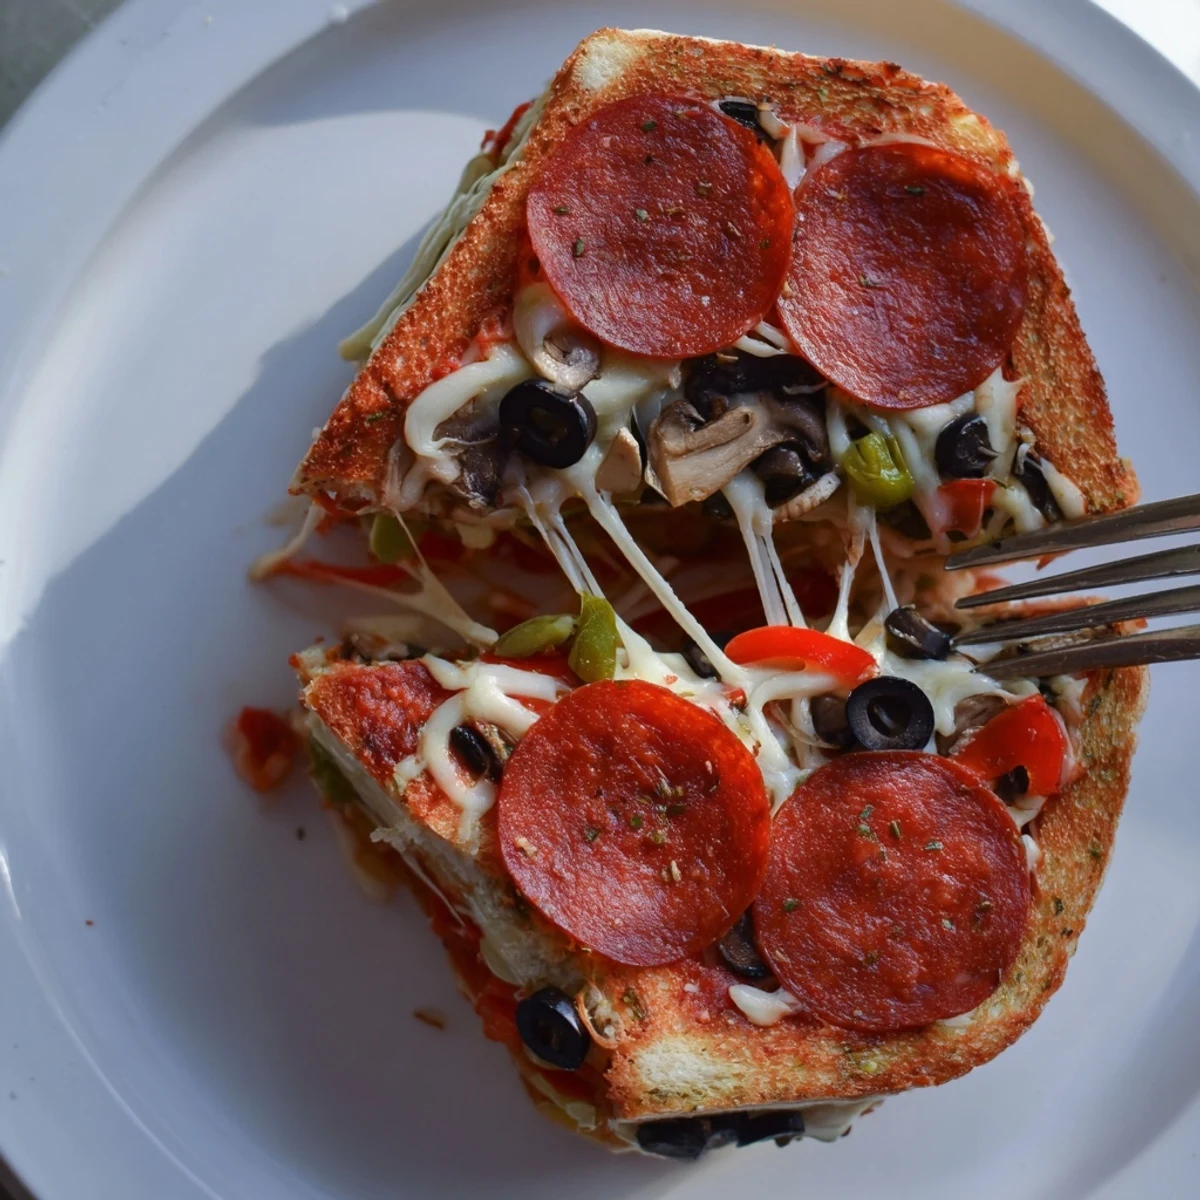
 Quick campfire pockets made by layering pizza sauce, shredded mozzarella and preferred toppings between buttered bread slices, then sealing in a pie iron and cooking 3–4 minutes per side until golden and cheese melts. Prep takes about 10 minutes; cooks in about 8. Swap marinara or pesto, use gluten-free bread, or add cooked sausage or fresh basil for variation. Let cool briefly before opening and serve with a salad or lemonade.
There&rsquos something oddly satisfying about the sound of a pie iron snapping shut over a stacked sandwich, especially when you know molten cheese is waiting on the inside. Last summer, lines of smoke curled from the firepit as friends debated whether jalapeños or olives made the better filling. The air was thick with campfire chatter and the unmistakable scent of buttered bread as we pressed these pizza pockets together. Nothing says summer more than burned fingers and gooey cheese stretching between bites by the flicker of a campfire.
Once, as dusk settled earlier than expected, I scrambled to get everyone's pizza pockets into the fire before the stars emerged. Laughter floated up as someone sneaked extra cheese into theirs, while another tried to explain the &lsquoright&rdquo way to butter the bread&mdashbut, in the end, everyone agreed the smoky flavor made these utterly irresistible.
Ingredients
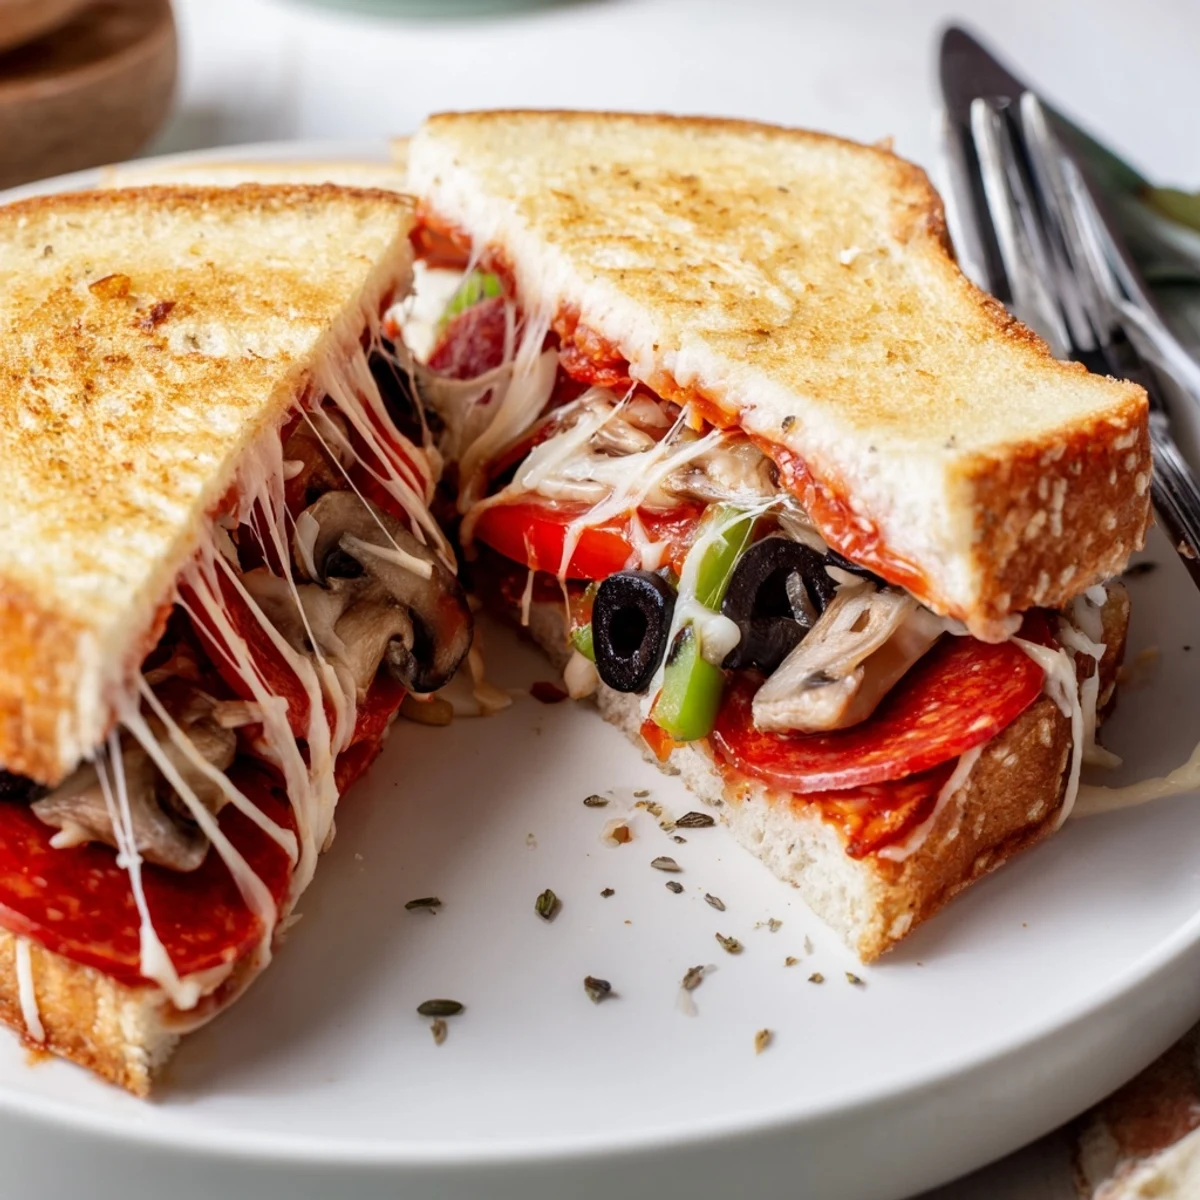
- Bread: Pick sturdy sandwich bread so your pockets stay intact; white bread gets nostalgic and golden, but whole wheat holds up beautifully with extra toppings.
- Pizza Sauce: Store-bought or homemade works; I learned to spread it nearly to the edges, but not quite, to avoid runaway sauce.
- Mozzarella Cheese: Freshly shredded melts more evenly and strings beautifully though pre-shredded will do for camping simplicity.
- Toppings: Pepperoni packs classic flavor, but mushrooms and bell peppers add freshness; always slice thin so they heat through.
- Dried Italian Herbs (Optional): These give that pizzeria aroma but go easy; a little makes a big difference.
- Butter: Brushing the outside makes for crackly crust &ndash skip this and the bread just dries out in the fire.
Instructions
- Warm That Iron:
- Let your pie iron preheat over the campfire for a couple of minutes&mdashit should sizzle (quietly) when you butter it, but not scorch your bread.
- Butter and Build:
- Brush one side of each bread slice with melted butter then lay four slices, buttered side down, on a cutting board.
- Sauce and Sprinkle:
- Spoon pizza sauce onto each, spreading just shy of the crust to keep mess in check, then layer with mozzarella and your dream toppings.
- Seal Them Up:
- Top each with a second slice, buttered side out, pressing gently so the edges line up or can be trimmed.
- Into the Fire:
- Place a sandwich in the pie iron, clamp it shut, and let any overhanging bread go&mdashit cooks up even neater with tidy edges.
- Toast Until Golden:
- Hold over medium fire heat, 3 to 4 minutes per side, until you catch that deep golden smell and cheese starts bubbling at the corners.
- Release and Serve:
- Gently open the iron and release your pocket onto a plate; let it cool just enough not to scorch your tongue, then dive in.
 Pin It
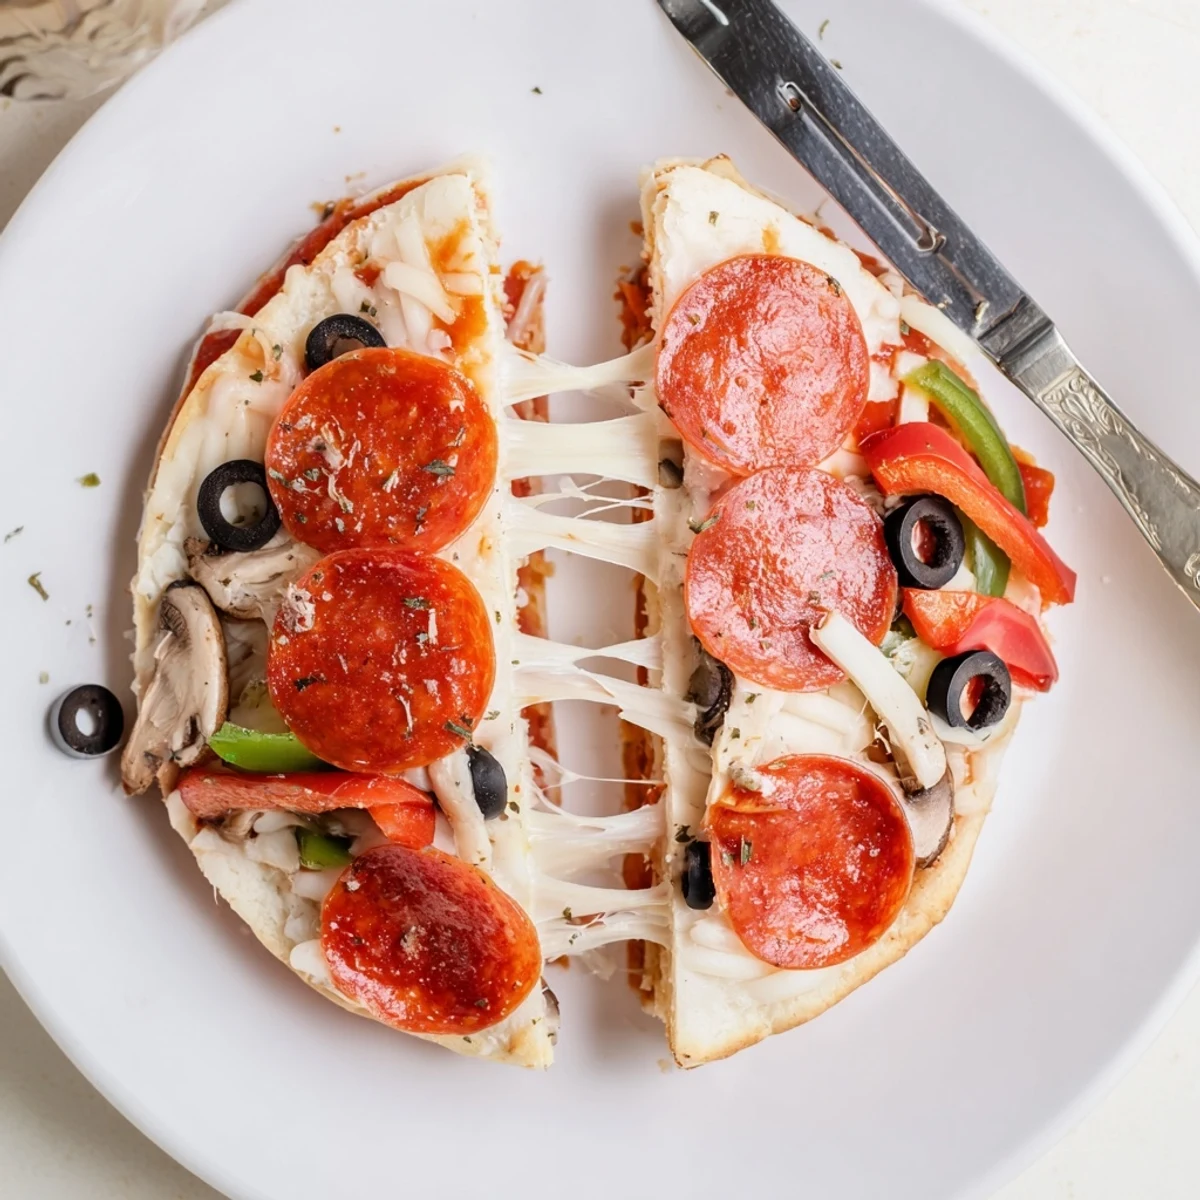
 One damp night by the lakeshore a friend declared these pizza pockets had become the highlight of our annual camping trip&mdashnot for the taste alone, but because everyone gets hands-on, and the campfire becomes the table. That was the first time silence fell&mdashapart from the crunch of that first collective bite.
Filling Combos Worth Trying
I once thought pepperoni was the only way, but salty olives with creamy cheese or a handful of fresh spinach changed my mind. Even stray bits of chopped onion tossed in lend a sweet backbone, and for kids, simply cheese and sauce goes a long way.
Getting the Perfect Crisp
A friend swears by extra butter, but I&rsquove learned an even toast is all about heating your pie iron first and resisting the urge to peek too soon. If your pockets look anemic, just give them another minute&mdashevery fire has its own rhythm.
Make-Ahead and Troubleshooting
Prepping toppings in containers makes campfire assembly fast and fun, turning it into a group activity rather than a solo job. If you end up with undercooked bread, it often traces back to rushing the fire or overcrowding the fillings&mdashless is more, even for cheese lovers.
- Bring foil for keeping finished pockets warm if you&rsquore making multiple rounds.
- A pastry brush helps butter every corner, so no dusty bits.
- Double check your pie iron is securely latched to avoid accidentally making open-faced pizza.
 Pin It
 Wherever you are, a pie iron pizza pocket brings a little campfire magic and plenty of eager hands to the table. May your next bite stretch with cheese and laughter in equal measure.
Recipe FAQs
- → Can these be made vegan or dairy-free?
-
Yes. Use vegan cheese and plant-based butter or oil for brushing. Double-check bread labels for dairy or egg, and choose vegan-friendly toppings like grilled vegetables or seasoned tofu.
- → What bread works best?
-
Standard sandwich slices—white or whole wheat—seal easily. Slightly stale bread can hold fillings better. For gluten-free needs, use firm gluten-free sandwich bread cut to size.
- → How long should I cook them?
-
Cook each pocket about 3–4 minutes per side over medium campfire heat or on a stovetop pie iron, until the exterior is golden and the cheese is fully melted. Adjust time if heat is higher or lower.
- → How do I prevent soggy or leaking pockets?
-
Don’t overfill—leave a small border around edges. Trim excess crust if needed, press edges firmly when closing the pie iron, and brush the outside with butter to promote crisping rather than sogginess.
- → Can I cook these without a pie iron?
-
Yes. Assemble sandwiches and bake on a sheet at 375°F (190°C) for 10–15 minutes until golden and the cheese melts, or cook in a skillet pressed with a weight until browned and warmed through.
- → How should leftovers be stored and reheated?
-
Cool completely, store in an airtight container in the refrigerator for up to 48 hours. Reheat in a skillet or oven to restore crispness; microwaving may make the bread soft.