 Pin It
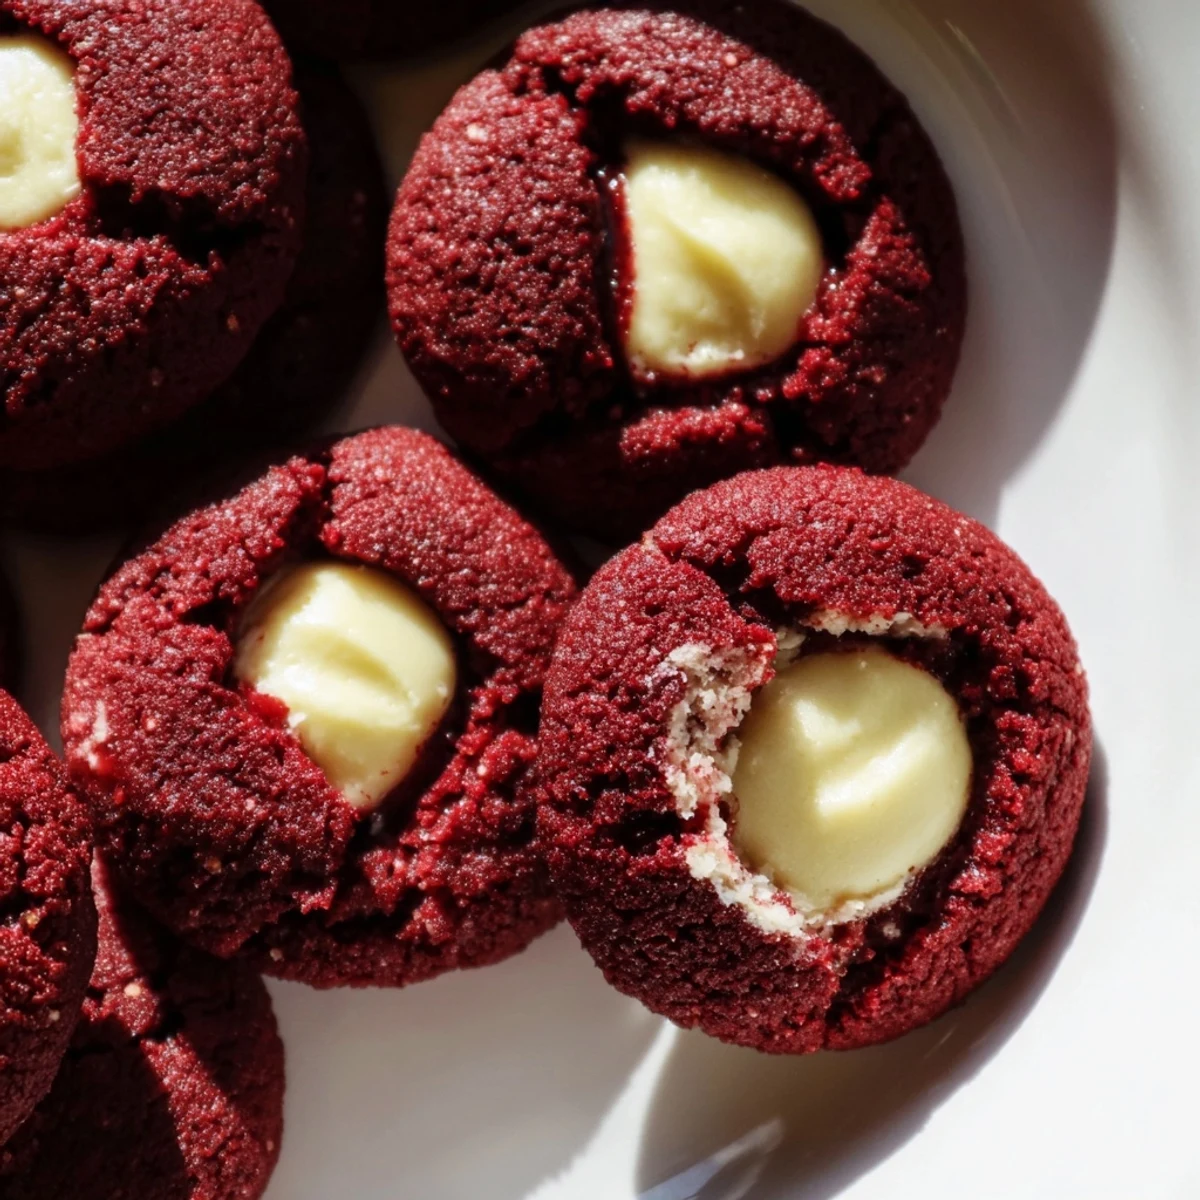
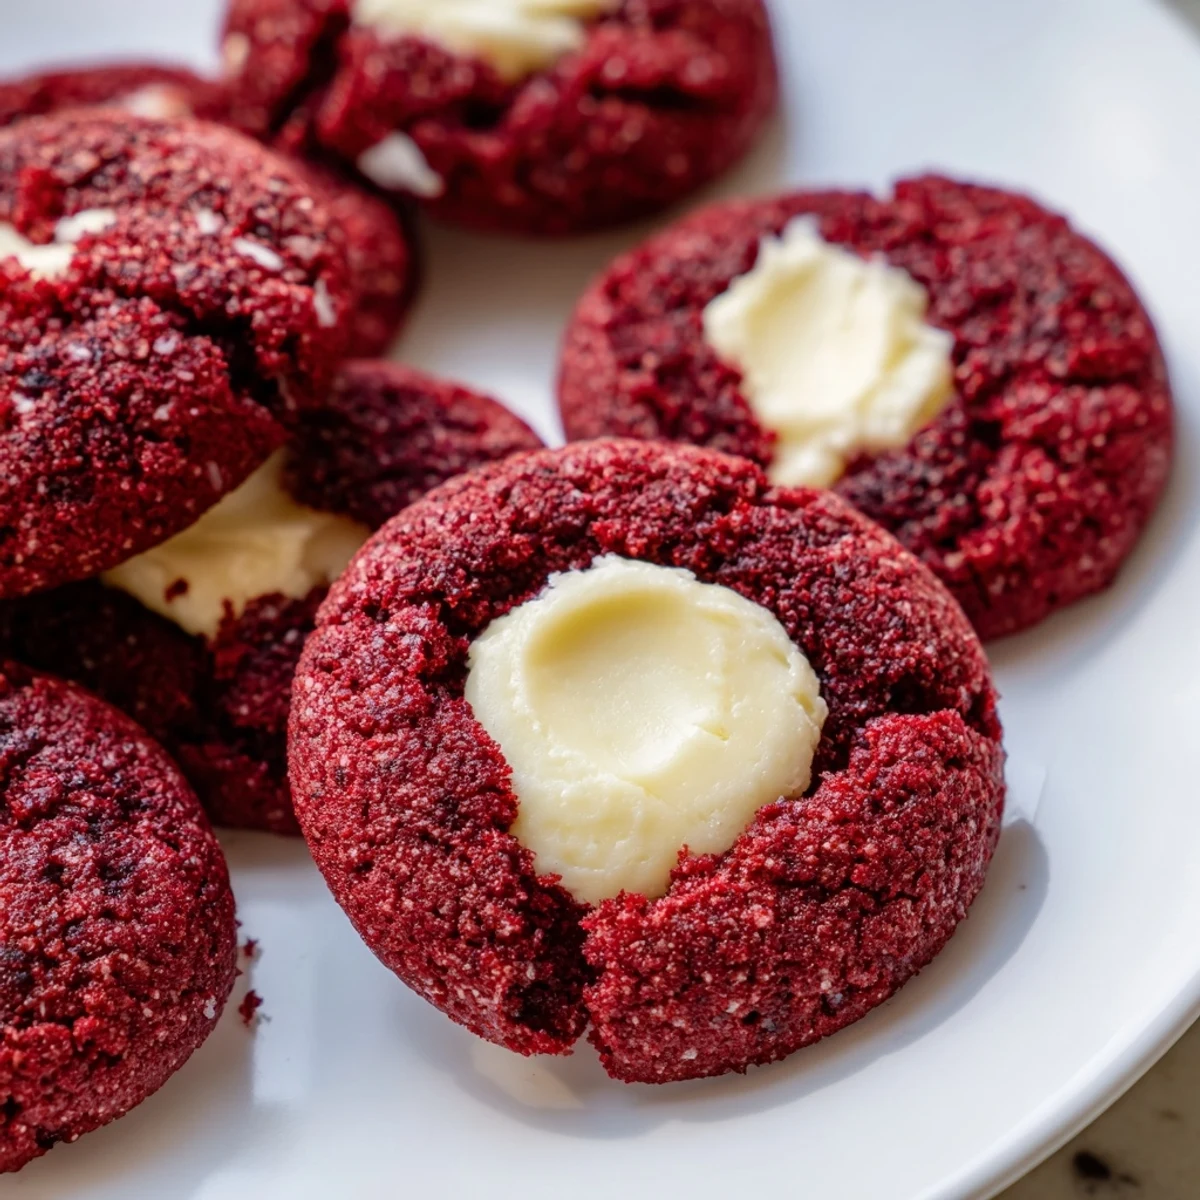
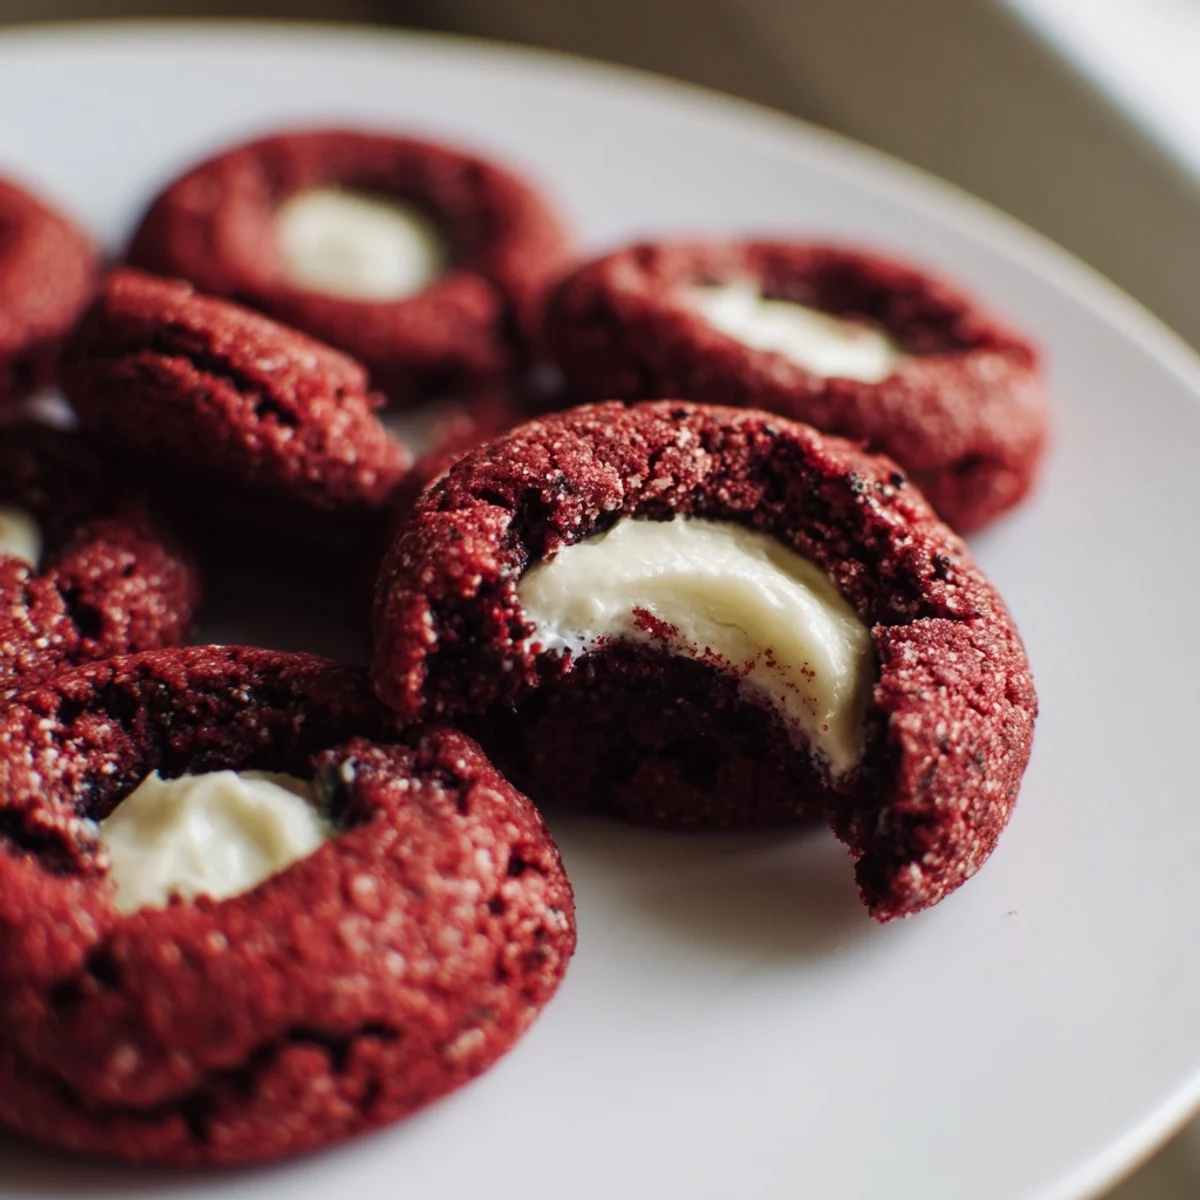
 These stunning red velvet thumbprint cookies combine the classic cocoa flavor and vibrant color of red velvet with a tender, melt-in-your-mouth texture. Each cookie features a deep well in the center, perfectly sized to hold a generous dollop of creamy cheesecake filling that balances the rich chocolate base.
The dough comes together quickly with basic pantry staples, and the thumbprint technique makes them instantly recognizable. With just 20 minutes of prep and a short bake time, you'll have 24 impressive treats ready for holiday platters, cookie exchanges, or special occasions.
The contrast between the deep red cocoa cookie and the smooth white filling creates an eye-catching presentation that tastes as delicious as it looks. Store them chilled for the best texture, and feel free to swap the cheesecake filling for white chocolate ganache when you want an extra indulgent variation.
The first time I made these, my kitchen looked like a crime scene. Bright red specks of dough everywhere, my apron stained, but one bite of that tangy cream cheese against the chocolate crumb and I didn't care about the mess anymore. These cookies became my go-to for winter parties because they look impressive but come together so quickly. Something about that classic red velvet flavor combination just makes people happy.
Last December I made three batches for my office cookie exchange and people kept asking where I bought them. When I explained they were homemade, my coworker actually wrote down the recipe on her napkin right there at the party. Now every time I bring them to gatherings, someone asks if I'm bringing 'those red velvet ones' again.
Ingredients
- 1 1/4 cups (160 g) all-purpose flour: The foundation that gives these cookies their structure while staying tender
- 2 tbsp (15 g) unsweetened cocoa powder: Just enough to deepen the flavor without overpowering the classic red velvet taste
- 1/4 tsp baking soda: Helps the cookies puff slightly and hold their shape
- 1/4 tsp salt: Balances the sweetness and brings out all the flavors
- 1/2 cup (115 g) unsalted butter softened: Room temperature butter creates the perfect tender crumb texture
- 3/4 cup (150 g) granulated sugar: Sweetens the dough while keeping the edges crisp
- 1 large egg yolk: Adds richness and helps bind the dough without making it too dense
- 1 tbsp whole milk: Brings everything together and adds moisture
- 1 tsp vanilla extract: Classic vanilla flavor that complements the cream cheese filling
- 1 tsp red food coloring: Gives that signature red velvet hue people instantly recognize
- 115 g (4 oz) cream cheese softened: Creates the tangy creamy center that makes these cookies unforgettable
- 1/4 cup (30 g) powdered sugar: Sweetens the filling just enough to balance the tanginess
- 1/2 tsp vanilla extract: Reinforces the vanilla notes in both cookie and filling
Instructions
- Get your oven ready:
- Preheat to 350°F (175°C) and line two baking sheets with parchment paper so you're ready to go
- Whisk the dry ingredients together:
- In a medium bowl combine flour cocoa powder baking soda and salt until well blended
- Cream the butter and sugar:
- Beat them in a large bowl for about 2 minutes until the mixture looks light and fluffy
- Add the wet ingredients:
- Mix in the egg yolk milk vanilla and red food coloring until everything is evenly combined and the dough turns that gorgeous red
- Combine everything:
- Gradually mix in the dry ingredients just until no flour streaks remain being careful not to overmix
- Make the filling:
- Whisk together the cream cheese powdered sugar and vanilla extract in a small bowl until completely smooth then set aside
- Shape the cookies:
- Roll the dough into 1-inch balls you should get about 24 and place them on the prepared baking sheets about 2 inches apart
- Create the thumbprints:
- Gently press your thumb or the back of a teaspoon into the center of each ball to make a deep indentation
- Fill the centers:
- Spoon about 1/2 teaspoon of the cream cheese filling into each indentation being careful not to overfill
- Bake to perfection:
- Bake for 11 to 13 minutes until the edges are set but the centers still look slightly soft
- Cool completely:
- Let the cookies rest on the baking sheet for 5 minutes then transfer to a wire rack to cool completely
 Pin It
 My niece helped me make these last year and she took her job as official thumbprint presser very seriously. We ended up with the most charmingly imperfect cookies but honestly those were the ones that disappeared first. Sometimes the messy moments in the kitchen become the best memories.
Making These Ahead
The dough balls freeze beautifully for up to two months. Just roll them and place on a parchment lined baking sheet until firm then transfer to a freezer bag. When you're ready to bake let them sit at room temperature for 10 minutes make the thumbprints and fill before baking.
Filling Variations
Sometimes I swap the cream cheese filling for white chocolate ganache made with melted white chocolate and a splash of heavy cream. It creates this incredibly decadent center that pairs so well with the cocoa notes in the cookie. During peppermint season I add a tiny bit of extract to the cream cheese filling for a festive twist.
Serving Suggestions
These cookies are perfect on their own but I love serving them with a cup of hot coffee or cold milk to balance the richness. They also make gorgeous gifts layered in clear treat bags with ribbon tied around the top.
- Add a tiny sprinkle of sea salt on top of the filling before baking for a sweet salty contrast
- Crush candy canes over the cream cheese filling right after baking for holiday sparkle
- These actually taste better the next day when the flavors have had time to meld together
 Pin It
 There's something so satisfying about pressing your thumb into that soft red dough knowing something delicious is waiting inside. These cookies have become my signature for a reason they just make people smile.
Recipe FAQs
- → What makes red velvet cookies different from regular chocolate cookies?
-
Red velvet cookies feature a distinctive combination of cocoa powder and buttermilk or milk that creates a subtle chocolate flavor with a notably tender, soft crumb. The iconic red color and slight acidity from the baking soda reaction give them their signature texture and appearance that sets them apart from traditional chocolate cookies.
- → Can I make the dough ahead of time?
-
Yes, you can prepare the cookie dough up to 2 days in advance. Wrap it tightly in plastic wrap and refrigerate until ready to bake. You may need to let the chilled dough sit at room temperature for 10-15 minutes before rolling into balls, as cold dough can be difficult to shape.
- → How do I prevent the thumbprint centers from overflowing during baking?
-
Don't press the indentation too deep or wide—about 1/2 inch deep is ideal. Fill each center with no more than 1/2 teaspoon of filling. If your thumbprints do overflow slightly, the cheesecake filling tastes delicious even when it spreads a bit across the cookie surface.
- → What other fillings work well in these thumbprint cookies?
-
Beyond the classic cream cheese filling, try white chocolate ganache, dark chocolate fudge, raspberry or strawberry jam, or even a salted caramel sauce. Each variation pairs beautifully with the cocoa-rich red velvet base and offers a different flavor profile for variety.
- → Why do my red velvet cookies look brown instead of bright red?
-
The color can appear darker due to the cocoa powder, which naturally has brown tones. Using gel food coloring instead of liquid can yield more vibrant results. Additionally, baking causes some color fading, so consider adding an extra drop of coloring to achieve your desired hue.
- → How should I store these cookies to maintain freshness?
-
Because of the cream cheese filling, these cookies must be stored in the refrigerator in an airtight container. They'll keep well for up to 4 days when chilled. Bring to room temperature for 15-20 minutes before serving for the best flavor and texture experience.