Pin It
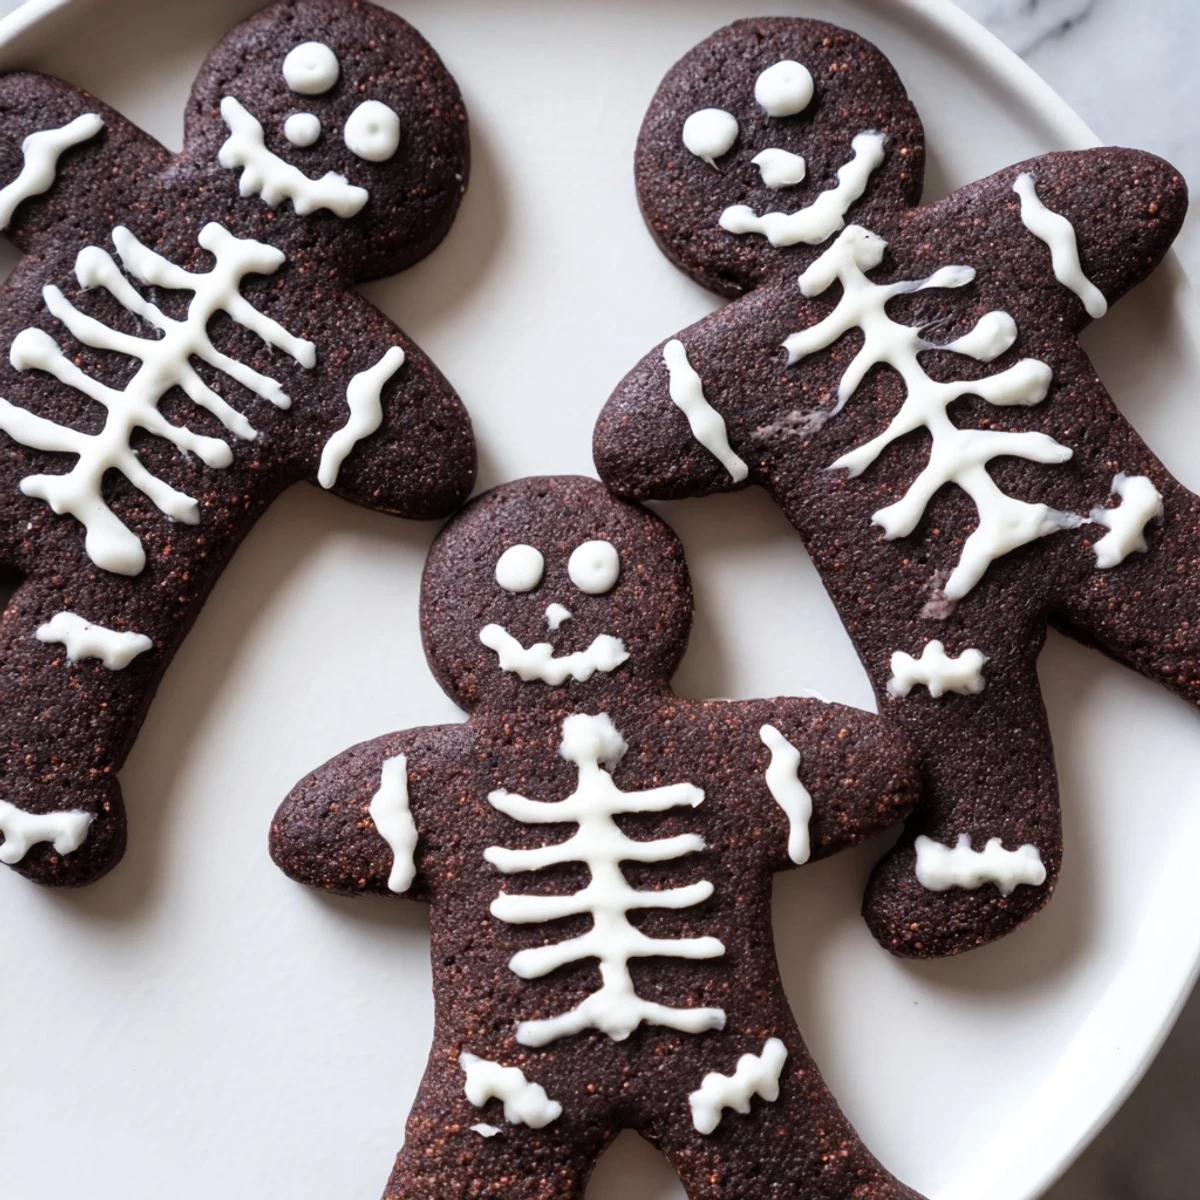
 Create these delightfully spooky chocolate cinnamon skeleton cookies for your next Halloween celebration. The dough combines unsweetened cocoa powder with ground cinnamon for a rich, warming flavor profile that's perfect for autumn weather. After chilling, roll out the dough and cut into skeleton shapes using gingerbread man cutters. Bake until firm, then decorate with smooth royal icing to create bone designs and spooky faces.
The preparation requires 25 minutes of active work, plus 30 minutes chilling time. Each batch yields 24 skeleton-shaped treats that stay fresh for up to a week when stored in an airtight container. For extra depth, consider adding a pinch of cayenne pepper to the dough, or use white chocolate chips for additional decoration.
Last October my kitchen smelled like chocolate and warm cinnamon for three straight days. I'd gotten it into my head that skeleton cookies would be the perfect thing to bring to my niece's class party, and somewhere between rolling out the eighth batch of dough and piping tiny rib cages onto cookies at midnight, I realized I might have gone slightly overboard. The kids went absolutely wild for them though, and now I can't imagine Halloween without these spooky little guys lined up on my counter.
My first attempt at skeleton faces was absolutely hilarious. I'd piped what I thought were perfectly grinning skulls, but my husband took one look and asked why they all looked so surprised. Turns out I'd made the eye holes too big and somehow managed to give every single skeleton the same startled expression. The kids at the party didn't care one bit—they thought the shocked skeletons were hilarious and started making up backstories about what had spooked them.
Ingredients
- All-purpose flour: The structure that keeps these cookies from spreading too much—measure by weight if you can for consistency
- Unsweetened cocoa powder: Use a good quality brand here because it's the main flavor player
- Ground cinnamon: Warm and aromatic, it plays so beautifully with the deep chocolate flavor
- Baking powder: Just enough lift to keep the cookies from being too dense
- Salt: Essential for balancing the sweet icing and bringing out the chocolate intensity
- Unsalted butter: Room temperature is non-negotiable—it should give slightly when you press it
- Granulated sugar: Cream this thoroughly with the butter for that perfect crisp edge
- Large egg: Bind everything together and add richness
- Vanilla extract: Pure extract makes a noticeable difference in the final flavor
- Powdered sugar: Sift it first or your icing will have lumps that clog your piping tip
- Egg white or meringue powder: Egg whites give traditional royal icing structure while meringue powder is safer if you're concerned about raw eggs
- Water: Add this gradually—icing consistency can change dramatically with just half a tablespoon
Instructions
- Whisk the dry ingredients:
- In a medium bowl, combine flour, cocoa powder, cinnamon, baking powder, and salt until everything is evenly distributed. The cocoa wants to clump so take your time whisking until no dry pockets remain.
- Cream the butter and sugar:
- Beat butter and sugar in a large bowl for about 2 minutes until it's pale and fluffy. Don't rush this step—properly creamed butter creates those delightfully crisp edges while keeping centers tender.
- Add egg and vanilla:
- Mix in the egg and vanilla extract until fully incorporated. Scrape down the sides of the bowl to ensure everything is evenly combined.
- Combine dough:
- Gradually add the dry ingredients to the wet mixture, mixing just until a dough forms. Stop as soon as you don't see dry flour—overmixing makes tough cookies.
- Chill the dough:
- Divide dough in half and flatten into disks. Wrap tightly in plastic and refrigerate for at least 30 minutes—this dough is much easier to work with when it's cold.
- Prep for baking:
- Preheat oven to 350°F (175°C) and line baking sheets with parchment paper. This much parchment might seem excessive but you'll thank yourself during cleanup.
- Roll and cut:
- Roll dough to 1/4 inch thickness on a lightly floured surface. Cut out skeleton shapes and transfer to prepared sheets—leave about 2 inches between cookies.
- Bake until set:
- Bake for 10 to 12 minutes until edges are firm. Let them cool on the baking sheet for a few minutes before moving to a wire rack.
- Make the royal icing:
- Beat egg white (or meringue powder) with powdered sugar and water until smooth. The perfect consistency is like thick toothpaste—it should hold its shape when piped.
- Decorate your skeletons:
- Transfer icing to a piping bag with a fine tip and create skeleton designs. Let them dry completely before stacking or the designs will smudge.
 Pin It
 After that first year of shocked skeleton cookies, I started practicing different expressions. Now I do a whole little skeleton family—grumpy grandpa, cheerful toddler, moody teenager. My niece looks forward to seeing what personalities they'll have each year almost as much as she looks forward to eating them. Something about decorating cookies with skeleton faces just brings out everyone's silly side.
Making Ahead and Storage
The dough freezes beautifully for up to three months—just thaw it overnight in the fridge before rolling and baking. I like to make a double batch in early October, freeze half, and have fresh cookies ready for unexpected Halloween gatherings. Once decorated, store them in a single layer between wax paper in an airtight container.
Getting the Icing Consistency Right
This is the part that trips most people up. Your icing should hold a stiff peak when you lift the beater but still flow smoothly through your piping tip. If it's too stiff, add water literally drop by drop. Too thin? Add more powdered sugar a tablespoon at a time. Keep a small test cookie nearby to practice your lines before committing to the actual cookies.
Decoration Ideas Beyond Basic Skeletons
Last year I got creative and started giving the skeletons accessories. Tiny bow ties, little hats, even one wearing glasses made from carefully piped circles. You can also use colored food coloring to tint small portions of the royal icing for multicolored skeletons—maybe a purple one for a more mystical vibe or orange for classic Halloween colors.
- Work with one cookie at a time and keep the rest covered with plastic wrap so the dough doesn't dry out
- If you make a piping mistake, let it dry completely then scrape it off gently with a toothpick and try again
- Set up a decorating station with bowls of sprinkles, edible glitter, or white chocolate chips for extra spooky flair
 Pin It
 There's something so satisfying about pulling a tray of these dark chocolate cookies out of the oven, knowing they're about to become little edible characters. Happy haunting and happy baking.
Recipe FAQs
- → How long should I chill the cookie dough?
-
Refrigerate the dough for at least 30 minutes before rolling. This step is essential for firm texture and easier cutting. The dough can be chilled longer if needed—even overnight works well.
- → Can I make the dough ahead of time?
-
Absolutely. Prepare the dough, wrap tightly in plastic, and refrigerate for up to 3 days. You can also freeze the dough disks for up to 3 months. Thaw overnight in the refrigerator before rolling and cutting.
- → What's the best way to get smooth royal icing?
-
Sift the powdered sugar before mixing to avoid lumps. Add water gradually, starting with 2 tablespoons, and beat until completely smooth. The consistency should be thick enough to hold its shape when piped but still flow easily from the bag.
- → Can I use meringue powder instead of egg white?
-
Yes, substitute 2 tablespoons of meringue powder mixed with 3 tablespoons of water for one egg white. This option is ideal for those concerned about raw egg consumption or for longer shelf stability of the icing.
- → How do I store the decorated cookies?
-
Once the royal icing has completely hardened—usually 2-4 hours—store in an airtight container at room temperature. Separate layers with parchment paper to prevent sticking. They'll stay fresh for up to a week.
- → Can I add more spice to the dough?
-
Certainly. Increase the cinnamon to 1 tablespoon for stronger flavor, or add 1/4 teaspoon each of nutmeg and ginger. For a subtle kick, incorporate 1/8 teaspoon of cayenne pepper which pairs beautifully with chocolate.