 Pin It
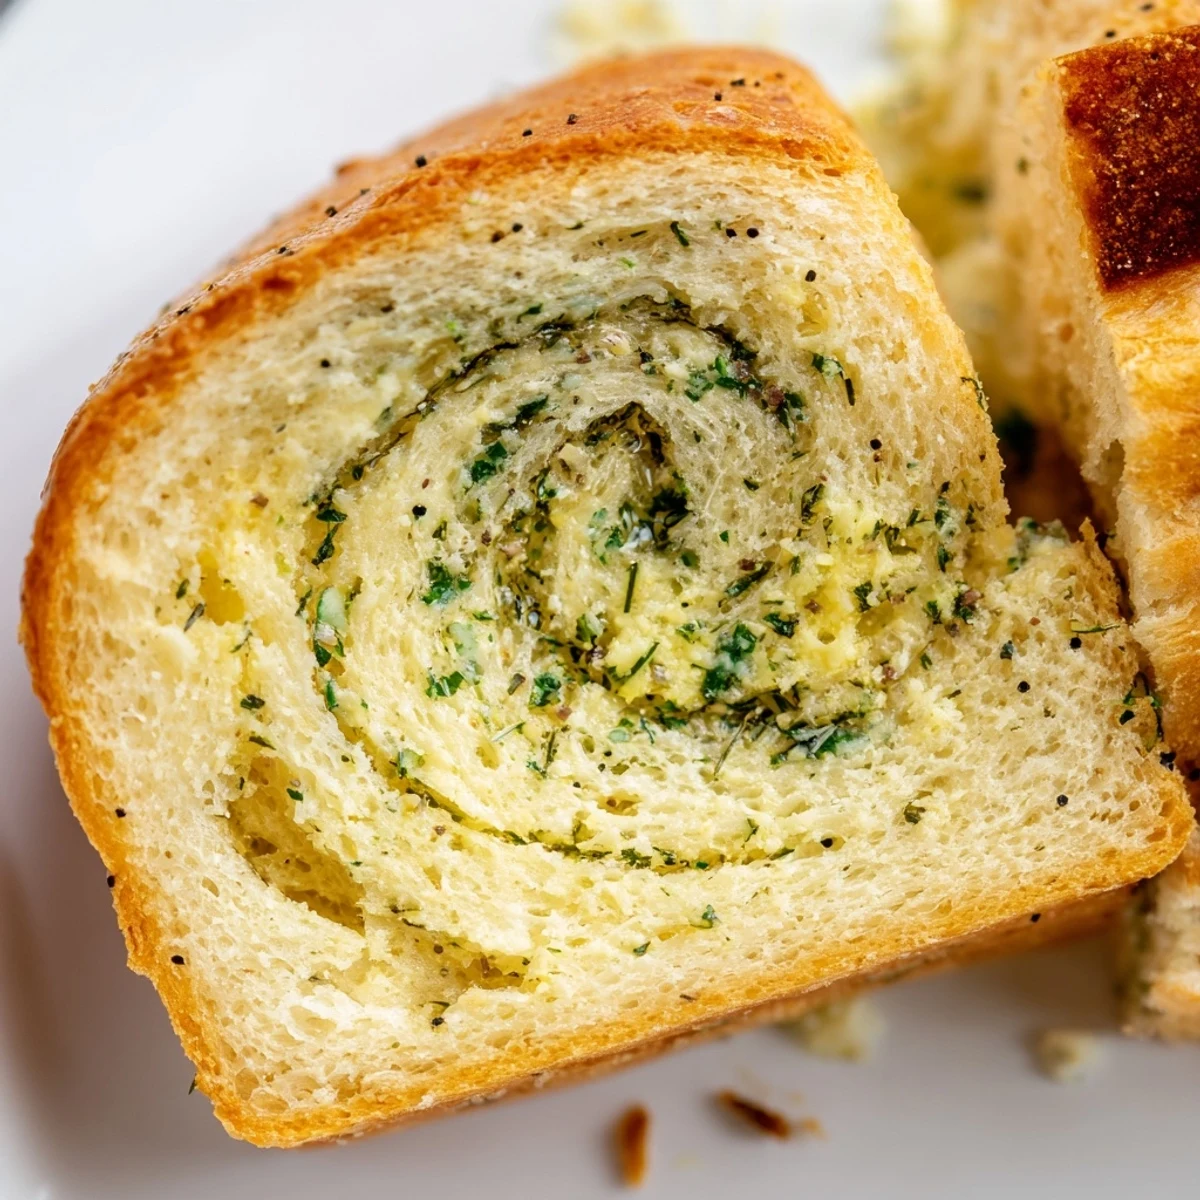
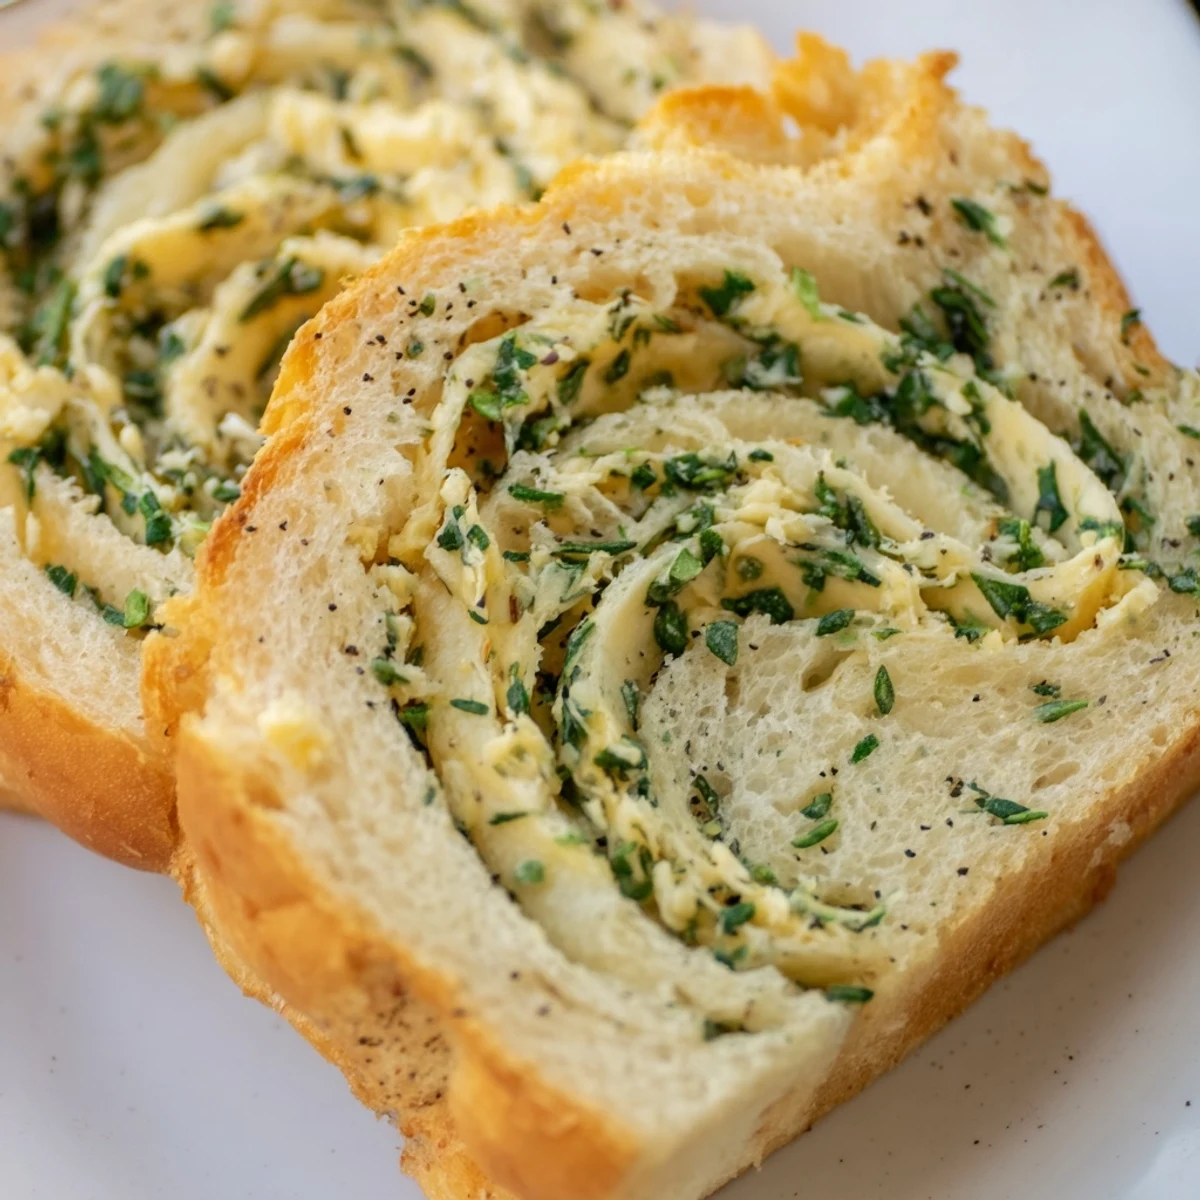
 Create a bakery-style garlic and herb bread at home with this simple method. The dough rises to perfection, creating a fluffy interior while developing a golden crust. Fresh parsley, rosemary, and chives combine with aromatic garlic butter, infusing every bite with savory flavor.
The process takes just 20 minutes of active preparation, plus time for rising. The result is eight generous slices of warm, fragrant bread that pairs beautifully with soups, salads, or pasta dishes. Whether served as an appetizer or alongside your main course, this homemade loaf brings comforting, aromatic goodness to your table.
The smell of garlic butter melting into warm dough still takes me back to my first apartment kitchen. I had zero clue what I was doing, but my roommate kept wandering in, asking if it was ready yet. That bread disappeared in about four minutes flat, and I've been hooked on the magic of herbs and yeast ever since.
Last winter, I made three loaves for a snowed-in dinner party. We ended up sitting around the table just tearing off pieces straight from the pan, arguing over who got the end slices with the most herb crust. Sometimes food is just the excuse for the best moments.
Ingredients
- 3 cups all-purpose flour: Forms the structure of your bread, so spoon it lightly into your measuring cup rather than scooping directly
- 1 packet active dry yeast: Check the expiration date because old yeast leads to flat, disappointing bread
- 1 tsp sugar: Feeds the yeast and helps activate it, plus adds subtle sweetness to balance the savory herbs
- 1 tsp salt: Essential for flavor and also helps strengthen the gluten structure
- 1 cup warm water: Aim for bathwater temperature, around 110°F, because hot water kills yeast and cold water slows it down
- 2 tbsp olive oil: Keeps the dough tender and adds richness
- 4 tbsp unsalted butter: Softened to room temperature so it blends perfectly into your herb mixture
- 4 cloves garlic: Freshly minced releases way more flavor than pre-chopped stuff from a jar
- 2 tbsp fresh parsley: Adds bright, fresh color and mild flavor that complements the stronger herbs
- 1 tbsp fresh rosemary: Woody and aromatic, a little goes a long way
- 1 tbsp fresh chives: Subtle onion flavor that rounds out the herb blend beautifully
- ½ tsp black pepper: Adds just enough warmth to make things interesting
- ¼ tsp salt: Balances the butter and brings out all the herb flavors
Instructions
- Wake up the yeast:
- Stir together sugar, yeast, and warm water in a large bowl, then walk away for five minutes. You should see foamy bubbles forming on top, which means your yeast is alive and ready to work.
- Mix the dough:
- Add flour, salt, and olive oil to your yeast mixture, stirring until everything comes together into a shaggy, sticky mass. It will look messy, but that is exactly right.
- Knead it out:
- Turn the dough onto a floured surface and push it away with the heel of your hand, fold it back over, and repeat for eight to ten minutes. The dough should transform from sticky and rough to smooth and elastic.
- First rise:
- Place your dough in a bowl coated with a little oil, cover it, and find a warm corner for it to hang out for an hour. It should double in size, which is incredibly satisfying to watch.
- Make the magic spread:
- While dough rises, mix softened butter with garlic, parsley, rosemary, chives, pepper, and salt until combined. Let it sit at room temperature so the flavors meld together beautifully.
- Roll and fill:
- Punch down your risen dough to release air bubbles, then roll it into a rectangle about nine by thirteen inches. Spread that garlic herb mixture all the way to the edges.
- Shape it up:
- Roll the dough tightly from the short end, like you are making a sleeping bag for your herbs, and place it seam down in a greased loaf pan.
- Second rise:
- Cover the pan and let the dough puff up again for thirty minutes while you preheat your oven to 350°F.
- Bake to golden:
- Slide the pan into the oven and bake for thirty to thirty five minutes. The top should turn deep golden brown, and when you tap the bottom, it should sound hollow.
- Cool properly:
- Let the bread rest in the pan for ten minutes, then turn it out onto a wire rack. Wait until it is warm but not hot before slicing, otherwise the steam escapes and the texture suffers.
 Pin It
 My daughter now requests this bread for every special occasion. She has started helping me spread the herb butter, though somehow half of it ends up on her fingers instead of the dough. Those are the kitchen moments that stick.
Making It Your Own
Sometimes I swap in dried herbs when fresh ones are not available, using about one third the amount since dried flavors are more concentrated. You can also add grated parmesan to the butter mixture for a cheesy version that disappears even faster, if that is possible.
Serving Suggestions
This bread pulls double duty as an appetizer or side dish. I love serving it alongside tomato soup or a big green salad, though honestly, standing at the counter eating warm slices with nothing else is completely valid too.
Storage And Reheating
Wrap cooled bread tightly in foil and it will keep at room temperature for two days. For longer storage, freeze the whole loaf or individual slices wrapped well.
- Reheat wrapped in foil at 350°F for about 10 minutes to refresh the crust
- Toasted slices make the most incredible base for bruschetta or breakfast eggs
- Stale bread transforms into perfect garlic croutons for your next salad
 Pin It
 There is something deeply satisfying about pulling a golden loaf from the oven, knowing you created something that makes people close their eyes and smile. That is the kind of magic worth repeating.
Recipe FAQs
- → How do I know when the bread is fully baked?
-
The bread is ready when the top is golden brown and produces a hollow sound when tapped lightly on the bottom. The internal temperature should reach 190°F (88°C) if using a thermometer.
- → Can I use dried herbs instead of fresh?
-
Yes, substitute the fresh herbs with 1½ teaspoons of dried mixed Italian herbs. Dried herbs are more concentrated, so use about one-third the amount of fresh herbs called for in the mixture.
- → How should I store leftover garlic herb bread?
-
Wrap cooled bread tightly in plastic wrap or place in an airtight bag at room temperature for up to 2 days. For longer storage, freeze slices in a freezer bag for up to 3 months and reheat in the oven.
- → Can I make the dough ahead of time?
-
Yes, after the first rise, punch down the dough and refrigerate it overnight in a covered bowl. Let it come to room temperature for 30 minutes before rolling out and proceeding with the garlic butter filling.
- → What can I serve with garlic herb bread?
-
This bread complements soups, tomato-based pasta dishes, green salads, or serve alone as an appetizer. It's also excellent alongside roasted meats, grilled vegetables, or as part of a bread basket for dinner parties.
- → Why didn't my dough double in size?
-
The yeast may have been inactive due to water that was too hot or cold, or the yeast was expired. Ensure the water is 110°F (43°C) and check the expiration date. Also, find a warm, draft-free spot for rising, ideally 75-80°F (24-27°C).