 Pin It
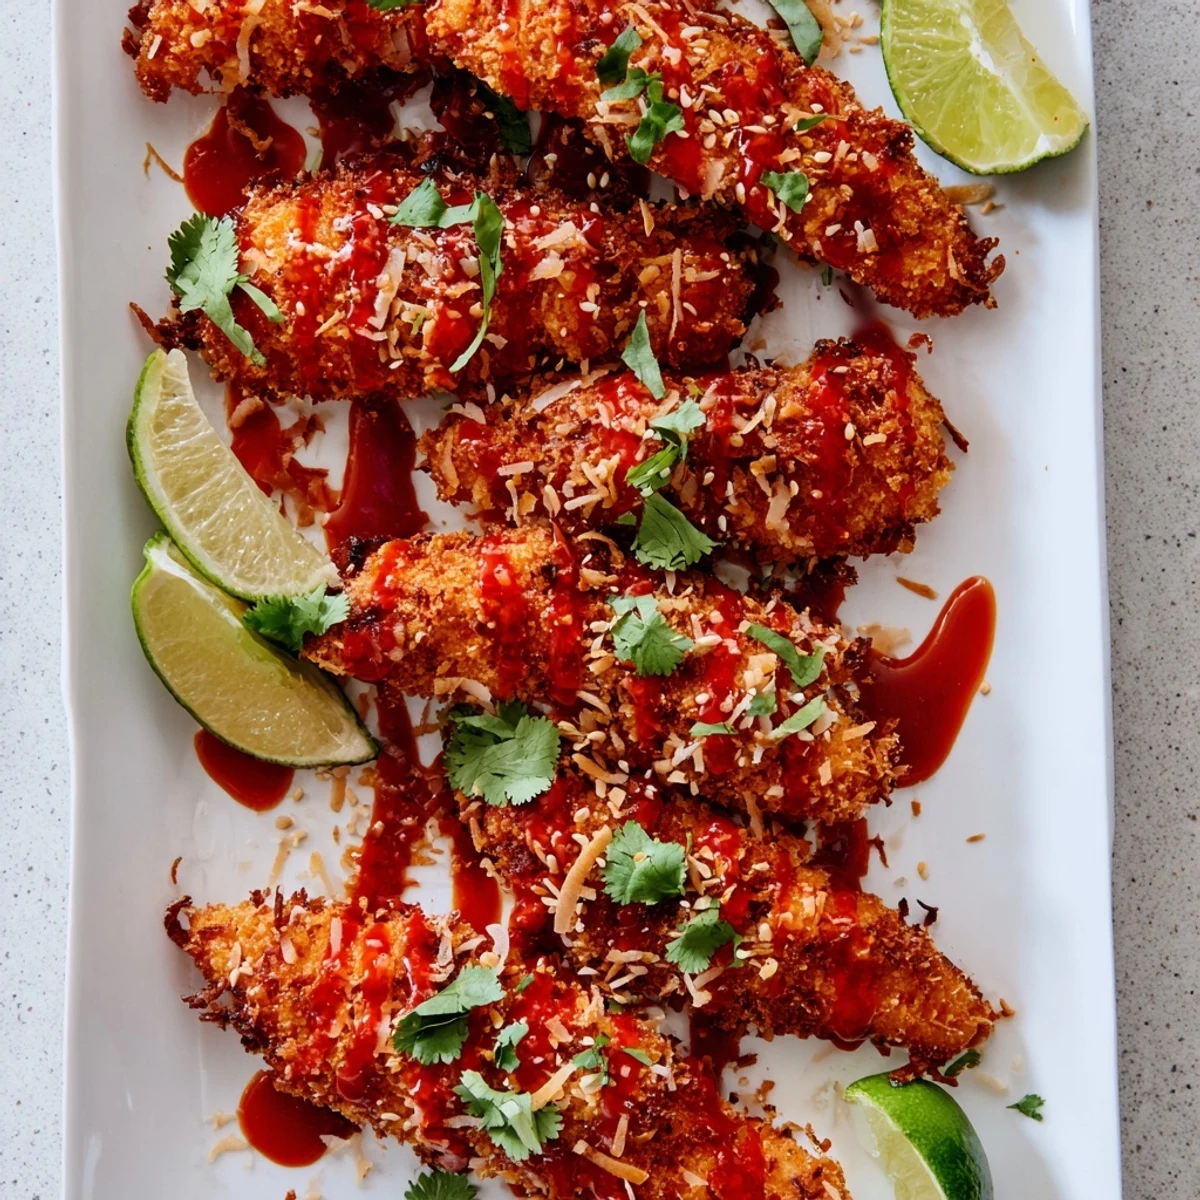
 These crunchy chicken fingers start with tender strips coated in flour, egg, and a mixture of panko breadcrumbs and shredded coconut for extra texture. After baking until golden, they're tossed in a homemade sticky Thai sauce combining sweet chili, soy, honey, rice vinegar, sriracha, garlic, ginger, and fresh lime. The result is perfectly crispy chicken with a glossy, finger-licking glaze that balances sweet, heat, and tangy flavors. Finished with cilantro, sesame seeds, and lime wedges, they're ready for dipping and devouring.
The first time I made these, my kitchen smelled like that little Thai street food spot downtown. My roommate kept wandering in, asking if they were ready yet. That's when I knew this recipe was special. We ended up eating them standing up at the counter, fingers sticky with sauce, laughing about how we'd never go back to frozen nuggets again.
Last Super Bowl, I made a triple batch thinking it'd be plenty. Huge mistake. They vanished before halftime. My brother-in-law, who claims he hates coconut, ate six without noticing it was even there. Now every family gathering involves someone texting ahead. Are you making those chicken things? The answer is always yes.
Ingredients
- Chicken tenders: Fresh tenders work best, but slicing breast strips yourself saves money and gives you control over thickness
- Panko breadcrumbs: These create that restaurant-quality crunch regular breadcrumbs just can't achieve
- Shredded coconut: Don't skip this. It adds subtle sweetness and an irresistible texture
- Sweet chili sauce: The backbone of the glaze. Thai Kitchen is reliable, but check Asian markets for authentic brands
- Sriracha: Start with one tablespoon. You can always add more, but you can't take it back
- Fresh garlic and ginger: Jarred versions work in a pinch, but fresh makes the sauce sing
- Lime juice: Use fresh. The bottled stuff tastes flat and misses that bright acidity
Instructions
- Set up your breading station:
- Get three shallow bowls ready. Flour in one, beaten eggs in another, panko mixed with coconut in the third. This assembly line approach keeps things organized and your hands from becoming a disaster zone.
- Coat the chicken:
- Pat those tenders really dry first. Dredge in flour, shake off excess, dip in egg, then press firmly into the panko-coconut mixture. Make sure they're evenly coated.
- Bake until golden:
- Arrange on your prepared baking sheet without crowding. Lightly spray with oil and bake at 425°F for 20 to 25 minutes, flipping halfway through. They should be deeply golden and crispy.
- Simmer the sauce:
- Combine all sauce ingredients in a small saucepan. Let it bubble gently for 3 to 4 minutes until it coats the back of a spoon. It thickens quickly as it cools.
- Bring it together:
- Toss the hot chicken fingers in the sauce immediately. The heat helps the coating stick. Work in batches if your bowl is small.
- Finish and serve:
- Plate them up while they're still glistening. Sprinkle generously with cilantro and sesame seeds. The lime wedges aren't optional. That squeeze of acid cuts through the sweetness perfectly.
 Pin It
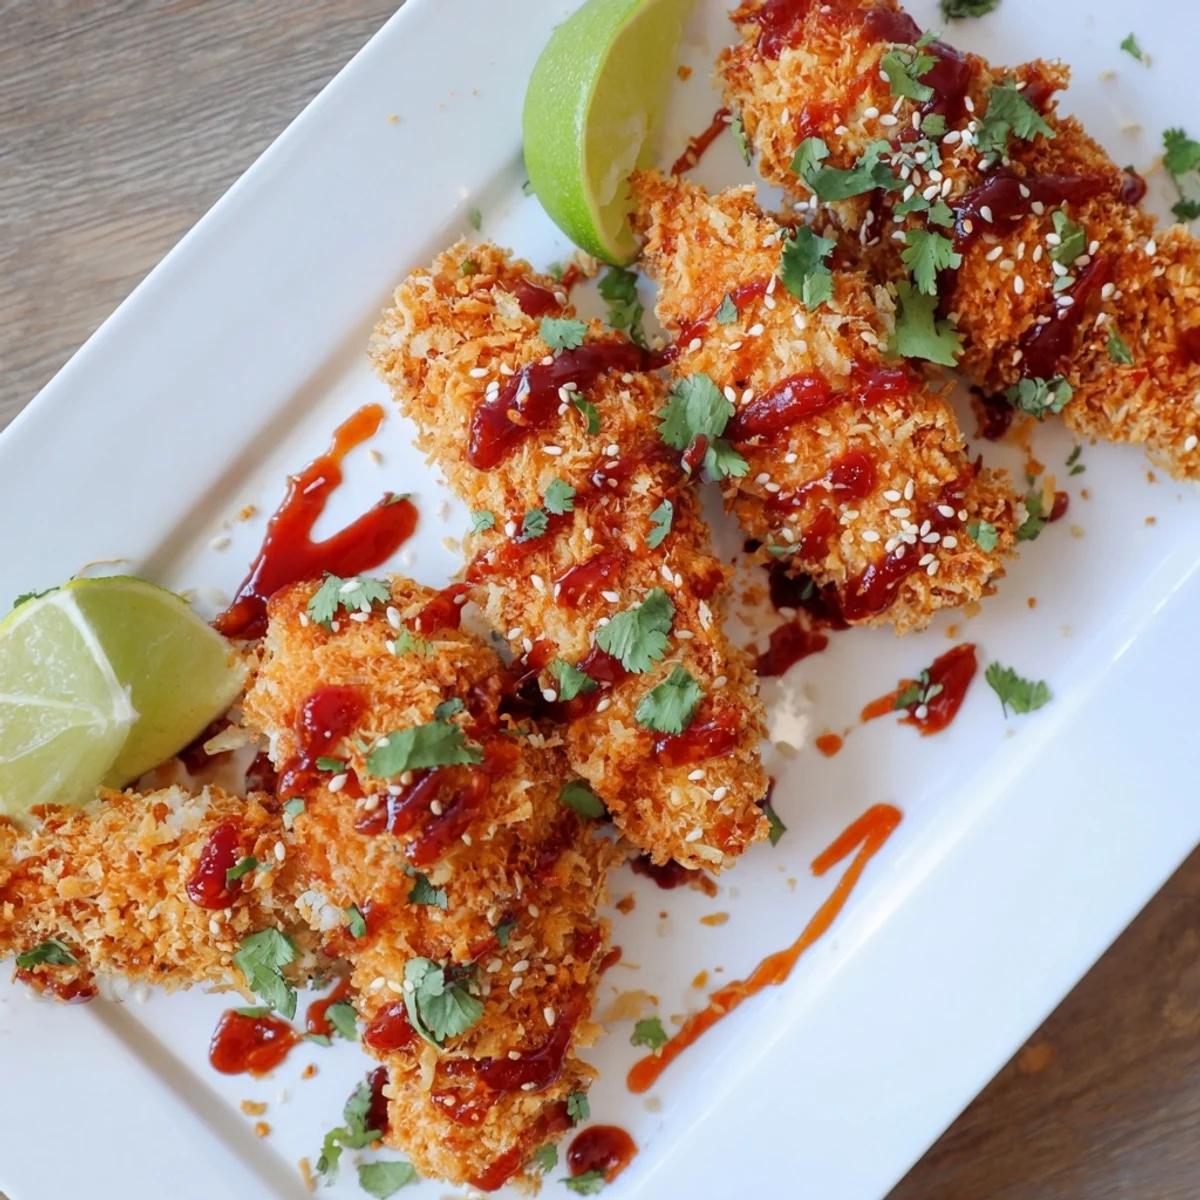
 My daughter requested these for her birthday dinner instead of cake. That's how much they've become a thing in our house. There's something about that combination of textures and flavors that makes people feel cared for, like you put way more effort into dinner than you actually did.
Making Them Ahead
Bread the chicken up to 4 hours before cooking and store on a parchment-lined baking sheet in the fridge. The coating actually sets better this way. Just don't sauce them until you're ready to serve, or they'll lose their crunch.
Air Fryer Magic
The air fryer was practically invented for this recipe. Cook at 400°F for 12 to 15 minutes, shaking the basket halfway through. You get extra crispy results without heating up the oven. Work in batches if your air fryer is small.
Serving Ideas
These chicken fingers are the star of the show, but they're even better with a supporting cast. A cold cucumber salad or some jasmine rice helps balance the heat. For parties, I put out small bowls of extra sauce for dipping. Some people like coating them heavily, others prefer a light glaze. Let everyone customize.
- Jasmine rice is the perfect neutral base to soak up that extra sauce
- A crisp slaw with sesame dressing adds freshness and crunch
- Extra lime wedges on the side let guests adjust the acidity to taste
 Pin It
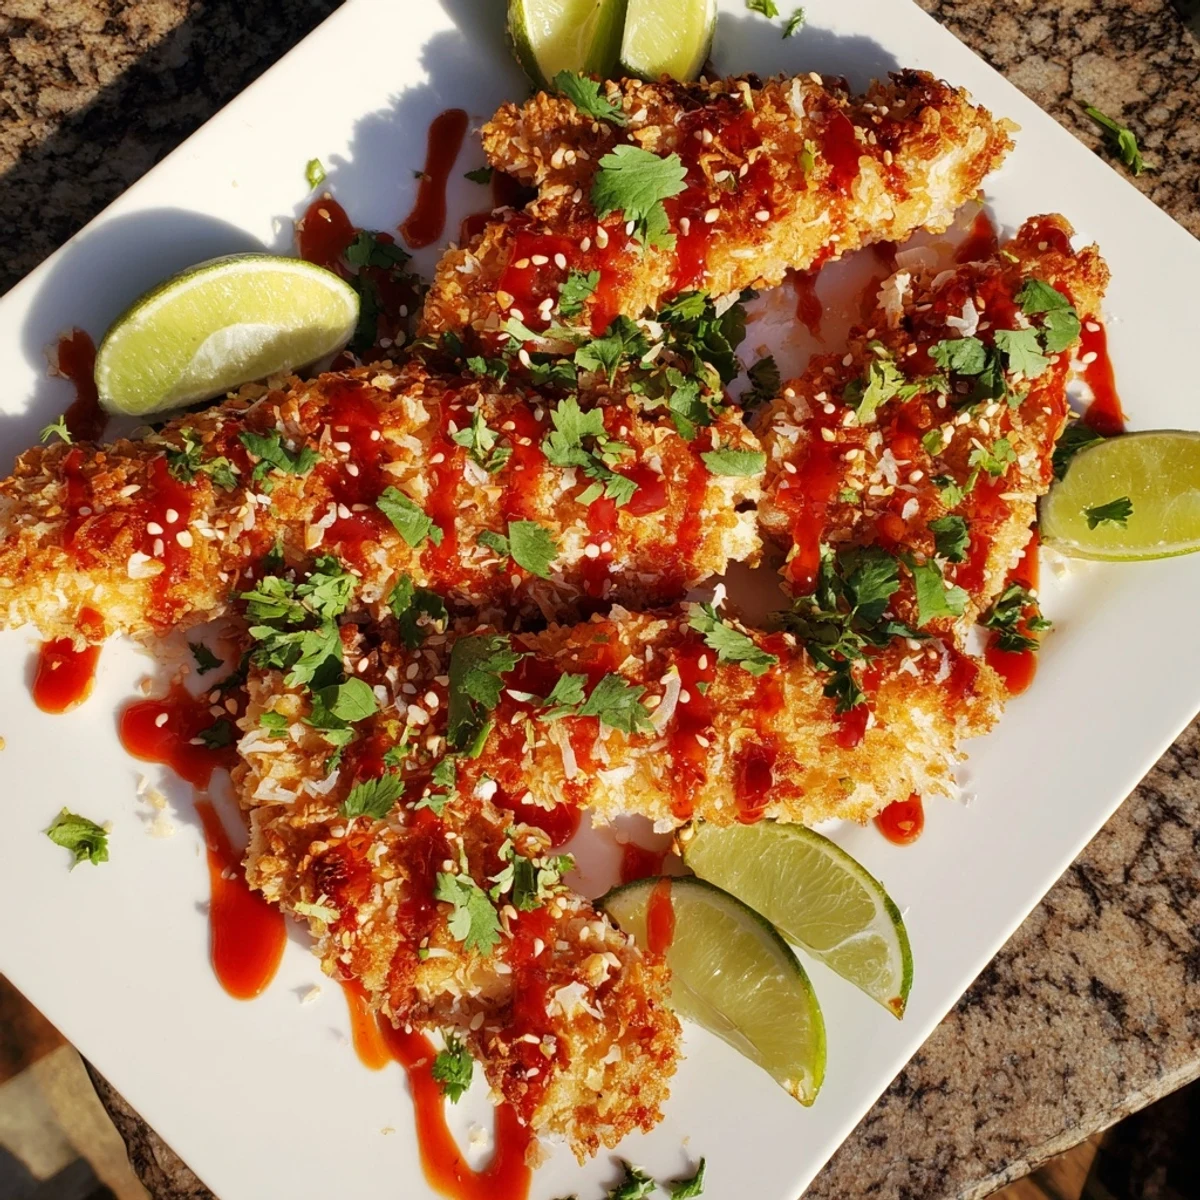
 These never last long enough at my place to become leftovers, but I always make extra sauce anyway. It's that good.
Recipe FAQs
- → Can I make these chicken fingers ahead of time?
-
Yes, you can bread the chicken strips up to 24 hours in advance and store them refrigerated on a parchment-lined tray. Bake fresh when ready to serve, or bake completely and reheat in a 350°F oven for 10 minutes to restore crispiness before tossing in sauce.
- → What can I use instead of panko breadcrumbs?
-
Regular breadcrumbs work as a substitute, though they won't create quite as light and crispy a coating. For a gluten-free option, use crushed rice cereal or almond flour mixed with shredded coconut for similar crunch.
- → How can I make the sauce less spicy?
-
Reduce or omit the sriracha completely for a milder version. The sweet chili sauce provides a gentle background heat that most palates enjoy. You can also add extra honey to balance any remaining spice.
- → Can I fry these instead of baking?
-
Absolutely. Heat 2 inches of oil to 350°F and fry the breaded strips for 3-4 minutes until golden brown and cooked through. Drain on paper towels before tossing in the sticky sauce.
- → What sides pair well with these chicken fingers?
-
Jasmine rice helps soak up the extra sauce, or serve with a crisp Asian slaw for contrast. Steamed bok choy, roasted broccoli, or cucumber salad also complement the sweet and spicy flavors beautifully.
- → How do I store leftovers?
-
Store leftover chicken fingers in an airtight container in the refrigerator for up to 3 days. Reheat in a 375°F oven for 10-12 minutes to restore crisp. Note that the coating will soften slightly after refrigeration.