 Pin It
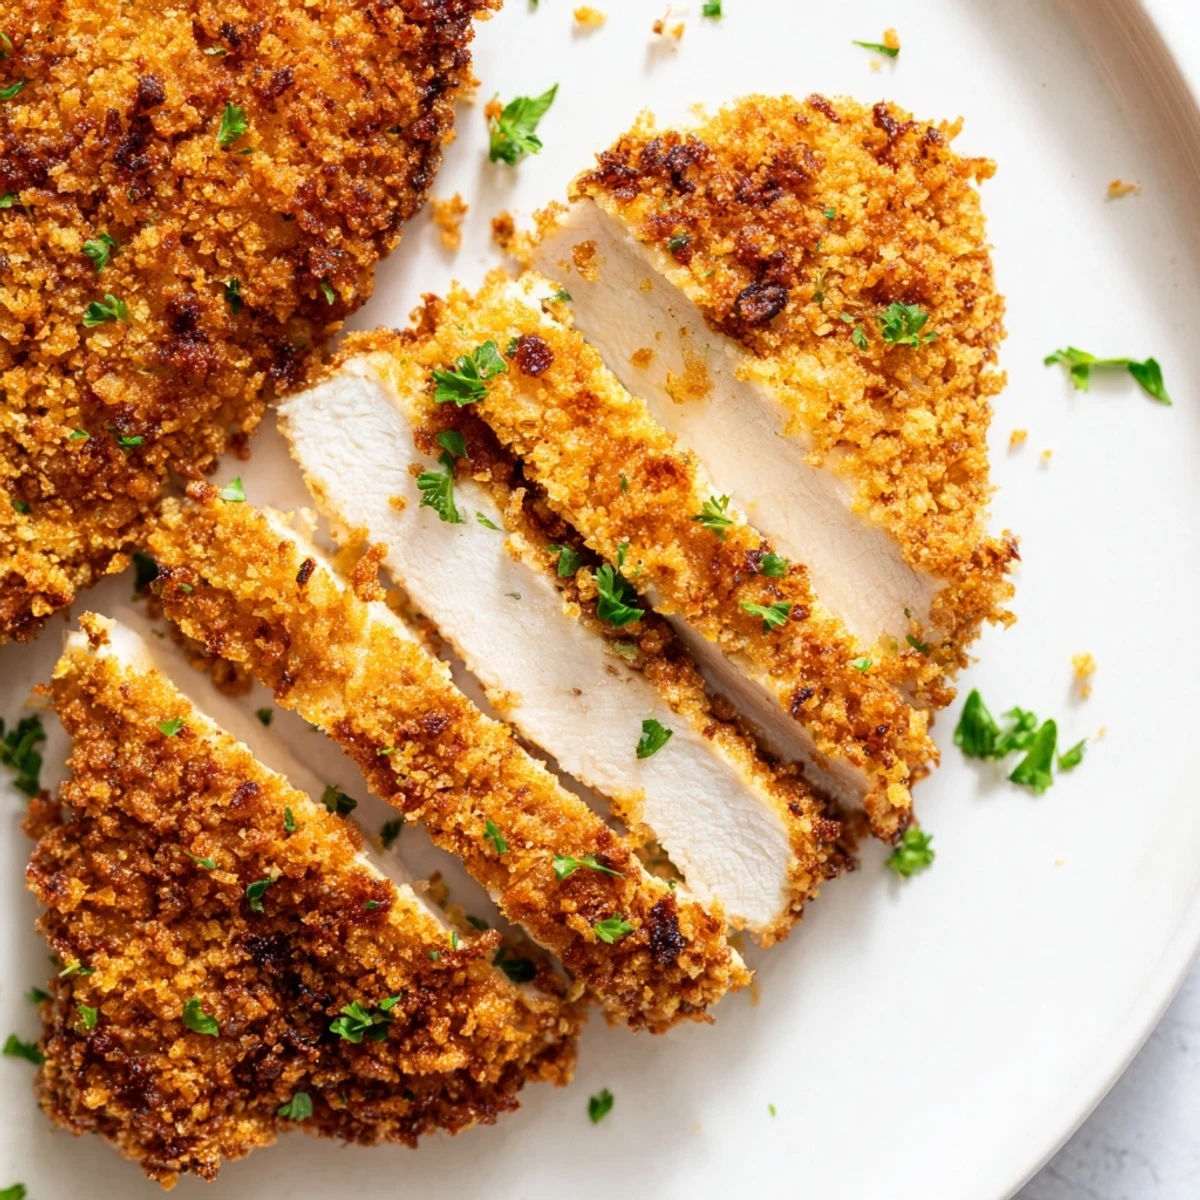
 This lemon-coated chicken delivers satisfying crunch with every bite. The three-step coating process creates layers of texture—seasoned flour, rich egg wash, and buttery panko infused with fresh citrus. Marinating the meat beforehand ensures juicy, tender results that stay moist even after high-heat cooking.
Frying yields maximum crispiness, while oven baking offers a lighter alternative with equally delicious outcomes. The combination of lemon zest, garlic, and subtle heat from cayenne creates balanced flavors that appeal to both kids and adults alike.
The sizzle of chicken hitting hot oil on a Sunday afternoon is a sound I have come to associate with pure contentment. This lemon chicken recipe was born from a frantic fridge raid before guests arrived, and it has since become the dish everyone requests by name. The golden crust shatters at first bite, giving way to juicy meat perfumed with bright citrus. It is the kind of recipe that makes you look like you tried much harder than you actually did.
My neighbor Dave once stood in my kitchen eating three pieces straight off the cooling rack before dinner was even served. He claimed he was quality testing, but I noticed he never actually went back for seconds during the meal because he had already eaten his fill in advance. Now I always make an extra piece just for kitchen grazers like him.
Ingredients
- Chicken breasts: Four boneless skinless breasts are ideal, but thighs work beautifully if you prefer juicier dark meat.
- Lemon juice and zest: Fresh is nonnegotiable here since bottled juice lacks the aromatic oils that make this dish sing.
- Olive oil: A good quality oil in the marinade helps carry the garlic and lemon flavors deep into the meat.
- Garlic cloves: Three minced cloves give a savory backbone without overpowering the citrus.
- All purpose flour: The base of your dredge, creating a dry surface for the egg to cling to.
- Cornstarch: This is the secret weapon that makes the crust lighter and more delicate than flour alone ever could.
- Paprika and cayenne: Paprika adds warmth and color, while cayenne brings a barely there heat that balances the lemon.
- Eggs and milk: The egg wash acts as the glue between your flour layer and the crunchy panko coating.
- Panko breadcrumbs: These Japanese breadcrumbs are larger and flakier than regular ones, creating that unmistakable shatter.
- Melted butter: Mixed into the panko, it helps the breadcrumbs toast and brown into a deep golden crust.
Instructions
- Whisk the marinade together:
- Combine the lemon juice, zest, olive oil, minced garlic, salt, and pepper in a bowl until fragrant, then pour it over the chicken in a sealed bag and let it soak up all that brightness for at least thirty minutes in the fridge.
- Set up your cooking method:
- Heat your oven to four hundred degrees if baking, or warm a half inch of oil in a large skillet over medium high heat until it shimmers and a tiny breadcrumb sizzles on contact.
- Build your breading station:
- Line up three shallow dishes with the flour mixture in the first, the beaten eggs and milk in the second, and the panko tossed with melted butter and lemon zest in the third.
- Pat the chicken dry:
- Remove the chicken from the marinade and gently blot with paper towels so the coating adheres properly without sliding off during cooking.
- Coat each piece three times:
- Dredge through the flour first, dunk into the egg wash, then press firmly into the seasoned panko, making sure every inch is covered for maximum crunch.
- Cook until golden:
- Fry each piece three to five minutes per side until deeply bronzed, or bake on a wire rack for twenty to twenty five minutes, flipping halfway through, until the crust is crisp and the meat is cooked through.
- Rest and garnish:
- Let the chicken rest for five minutes so the juices redistribute, then finish with fresh parsley and lemon wedges for squeezing over the top.
 Pin It
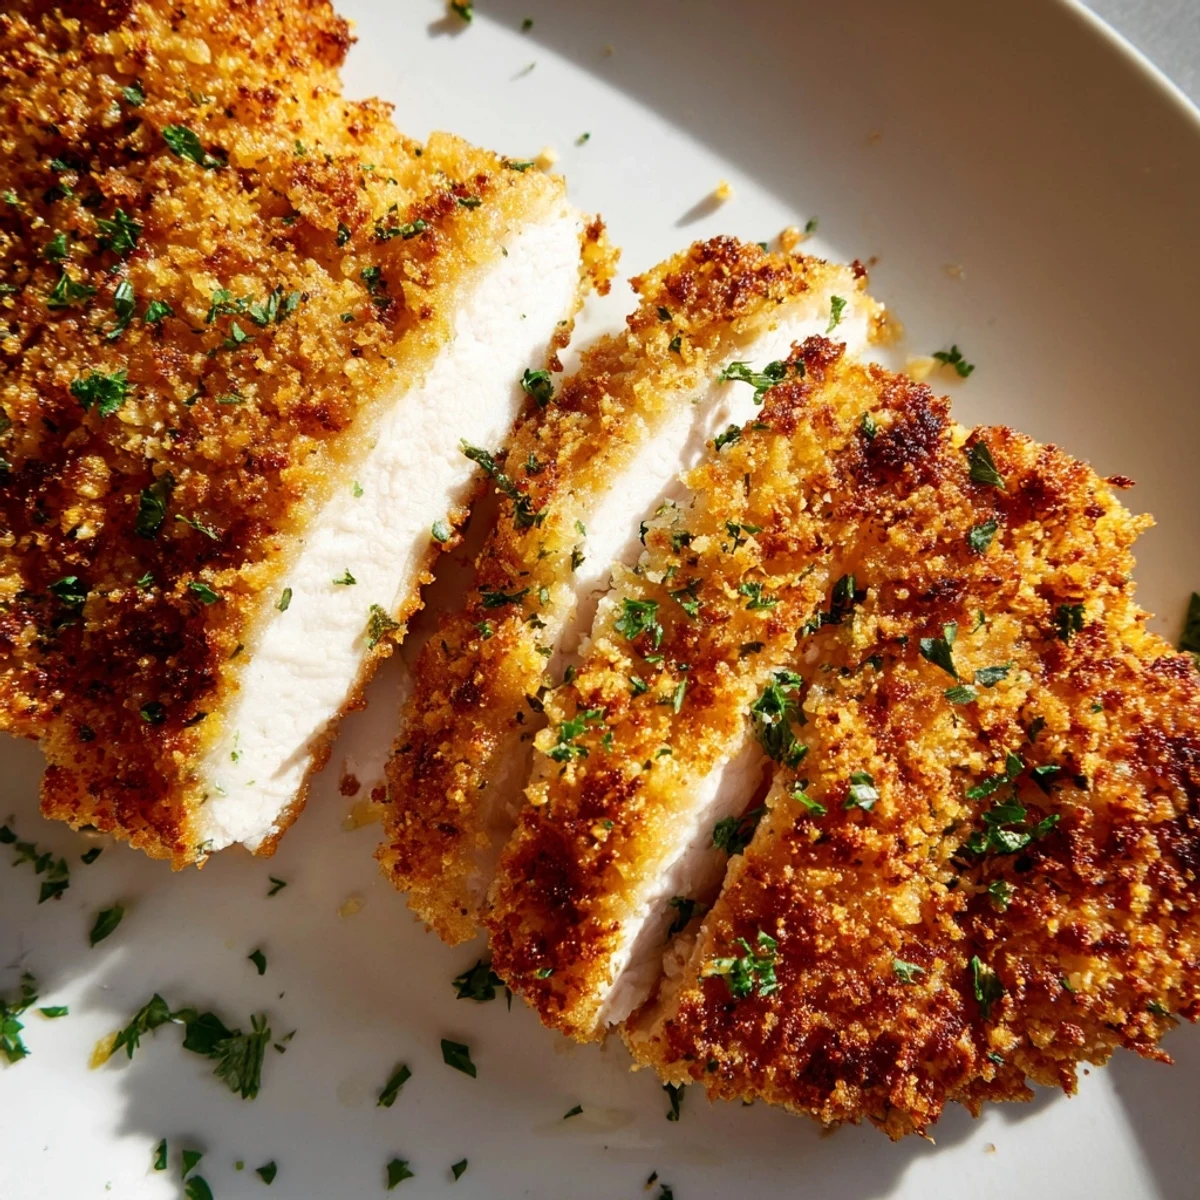
 The first time I served this at a potluck, the platter was empty before I even had a chance to sit down with my own plate. People were picking up crumbs and asking if I had hidden a restaurant somewhere in my kitchen.
Getting That Crunch Right Every Time
The difference between a good crust and a great one comes down to pressure and patience. When you press the chicken into the panko, really lean into it with the heel of your hand. The crumbs should be packed on so tightly that you cannot see the egg wash underneath. I learned this the hard way after serving a batch with patches of bare, sad breading that fell off in the pan.
Frying Versus Baking
Both methods produce gorgeous results, but they serve different moods. Frying gives you that classic, indulgent crunch and a slightly richer flavor that feels like comfort food at its finest. Baking on a wire rack lets air circulate underneath so the bottom stays crispy too, and it frees up your stovetop for sides. I bake on weeknights and fry when I want to impress.
What To Serve Alongside
This chicken is bold enough to stand on its own but plays well with almost anything simple and fresh. A crisp green salad with a vinaigrette cuts through the richness beautifully, and roasted potatoes soak up any leftover lemon butter on the plate. A glass of zesty Sauvignon Blanc alongside ties the whole meal together with its own citrusy snap.
- Double coating by repeating the egg and panko step creates an extra thick, restaurant style crust.
- Chicken thighs stay juicier than breasts if you are worried about overcooking.
- Always taste your marinade before adding the chicken to make sure the salt and acid feel balanced.
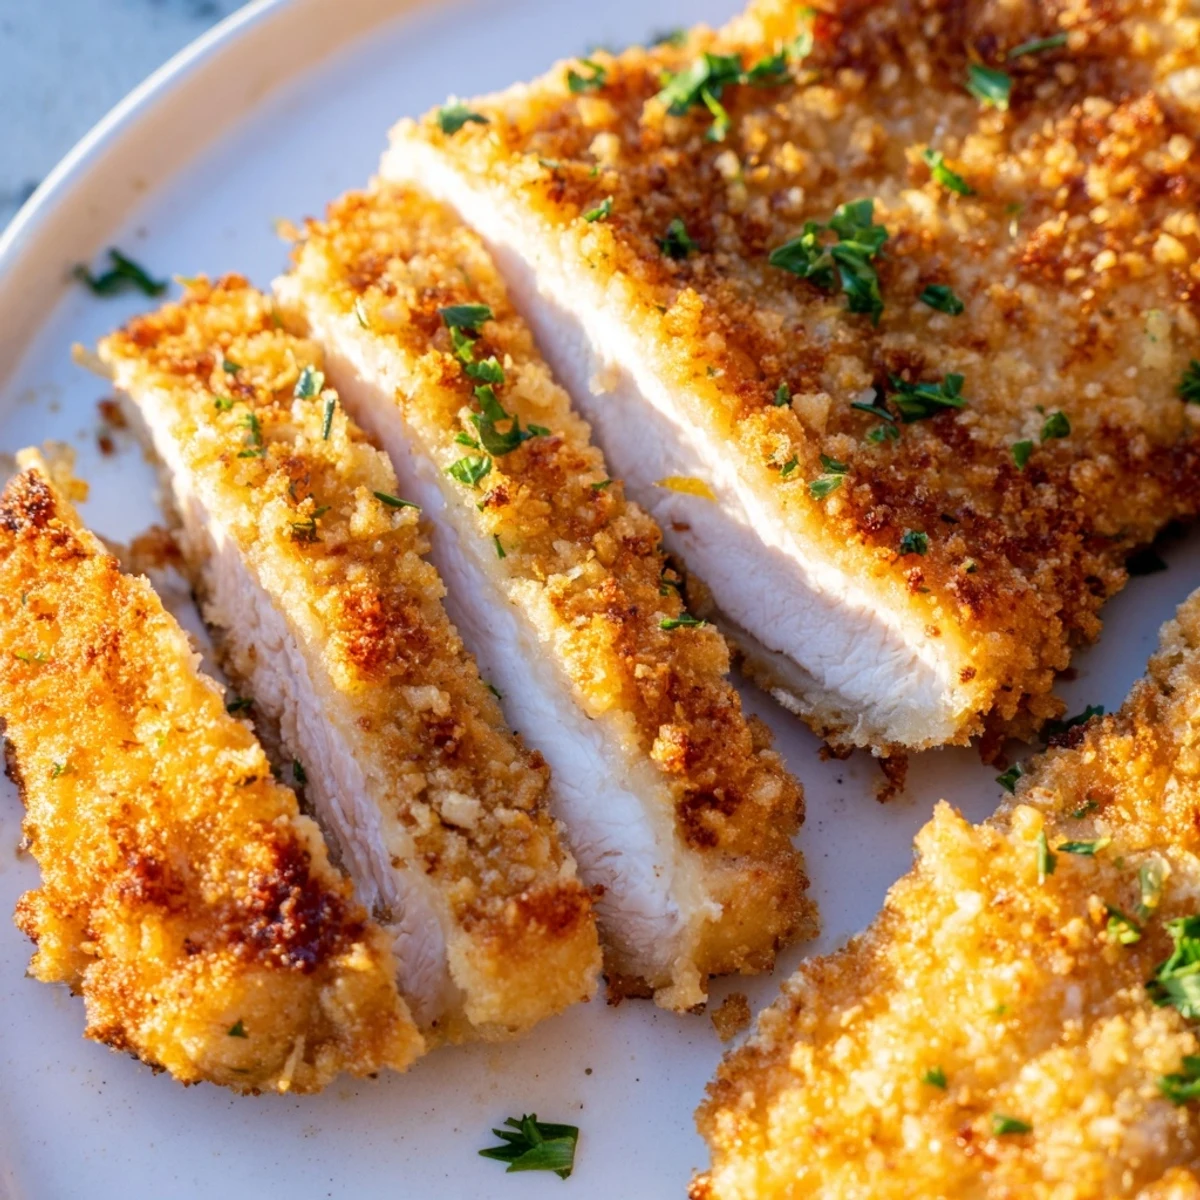 Pin It
 Some recipes are just dinner, but this one is the reason people linger at the table long after the plates are empty. Keep it close, because someone will ask for the recipe.
Recipe FAQs
- → How do I get the crispiest coating?
-
Double-dip the chicken by repeating the egg wash and panko steps for extra crunch. Also, let the coated pieces sit for 10 minutes before cooking to help the coating adhere better.
- → Can I make this ahead of time?
-
You can coat the chicken up to 4 hours before cooking and refrigerate. For leftovers, reheat in a 375°F oven for 10-12 minutes to restore crispiness—microwaving will make the coating soggy.
- → What's the best oil for frying?
-
Use neutral oils with high smoke points like canola, vegetable, or peanut oil. They heat evenly without overpowering the delicate lemon flavor.
- → How do I know when it's fully cooked?
-
The internal temperature should reach 165°F when measured with a meat thermometer. The juices should run clear, and the coating should be deep golden brown.
- → Can I use chicken thighs instead?
-
Absolutely. Boneless thighs work beautifully and stay juicier due to higher fat content. Adjust cooking time as needed—thighs may need 2-3 extra minutes per side.
- → Is there a gluten-free option?
-
Replace all-purpose flour with a 1:1 gluten-free flour blend and use gluten-free panko breadcrumbs. The coating technique remains exactly the same.